
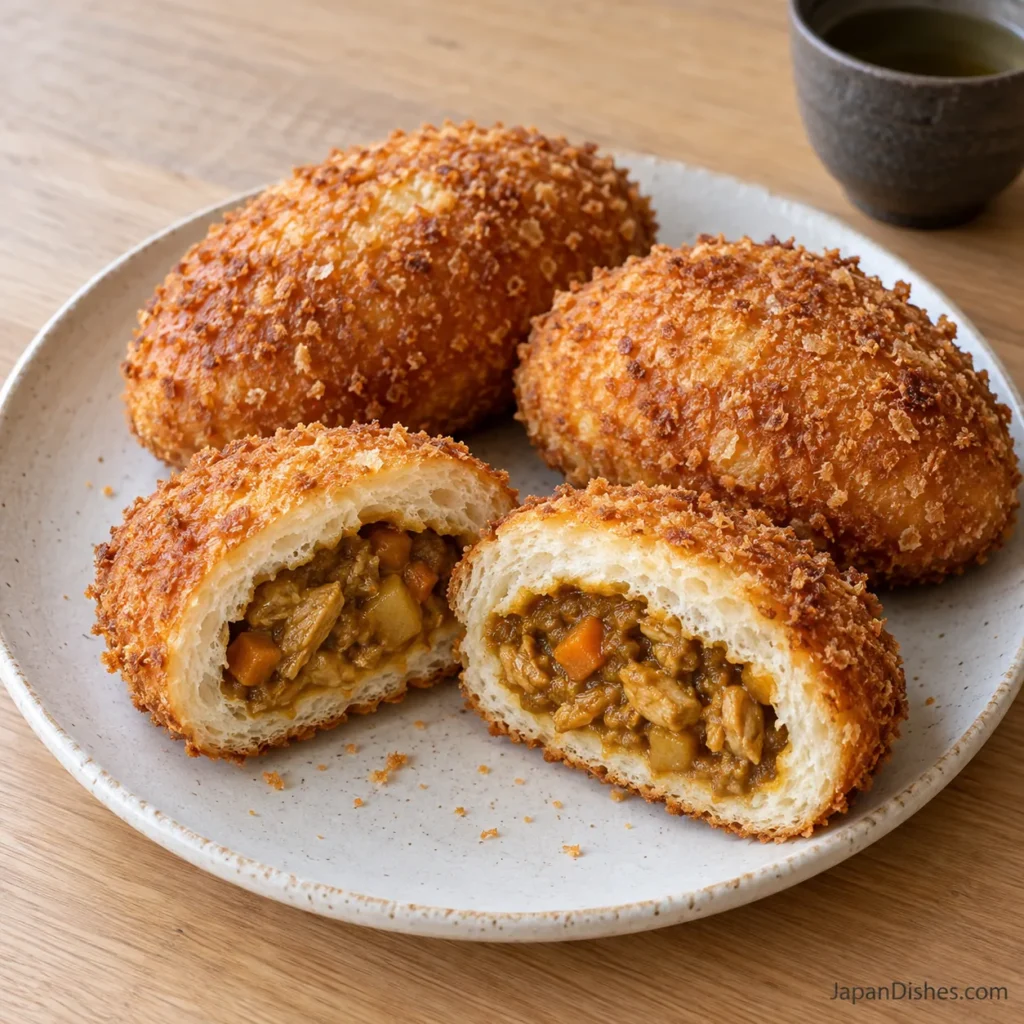
Would you like to make golden curry bread from a Japanese bakery at home? Kare Pan combines crisp panko, soft yeasted bread and a savory curry center. This recipe makes eight small buns, with nine photo stages and clear dough, sealing and cooking checks.
Hana here—let’s make this a relaxed afternoon project. Prepare the curry ahead, weigh the ingredients and clear some counter space. We will use modest filling portions and seal each bun carefully before frying.
Timing assumes thick, chilled curry is ready. First rise 60–90 min, rest 15 min, final rise 45–60 min; use dough cues.
Table of Contents
What is Japanese curry bread?
Kare Pan (カレーパン) is Japanese curry enclosed in risen bread dough, coated with breadcrumbs and commonly fried. Unlike a potato croquette, it has a soft bread wrapper. Aim for cooked, springy crumb and a crisp coating.
Difficulty is intermediate, about 3/5. Allow about 3½ hours with thick, chilled filling ready: roughly 55 minutes preparation, 25 minutes heating and batch-frying, and 130 minutes rising/resting. Room temperature changes the schedule; follow the dough cues.
Ingredients for curry bread
Use a scale, mixing bowl, scraper, rolling pin, tray, pastry brush, wire rack, deep heavy pot, skimmer and two thermometers: one for oil and one for food. The filling must already be fully cooked.
For eight small buns
- 150 g bread flour, plus a little for dusting
- 50 g cake flour
- 15 g granulated sugar
- 3 g fine salt
- 3 g instant yeast (about 1 teaspoon)
- 125 ml whole milk, warmed to 30–35°C (86–95°F); extra by the teaspoon only if needed
- 10 g unsalted butter, softened
- 200 g fully cooked thick Japanese curry, chilled; 25 g per bun, with pieces 1 cm or smaller
- 1 large egg, beaten, for coating only
- 60 g coarse Japanese panko (about 1 cup), plus a little if needed
- Neutral frying oil, about 1 liter or enough for a 4–5 cm depth without filling the pot more than one-third
- A few drops of neutral oil for the rising bowl
Flours: Bread flour adds strength; cake flour softens the crumb. Plain flour varies in protein, so replacing the blend changes the result. Keep dusting light to avoid a dry wrapper.
Yeast and milk: This method uses instant yeast. Warm milk to 30–35°C (86–95°F), not hot. For active dry yeast, follow its package directions for dissolving and allow additional rising time.
Filling: Use 200 g prepared curry, 25 g per bun, with soft pieces no larger than 1 cm. A chilled spoonful must hold a mound. Reduce loose curry in advance, then cool promptly in a shallow container and refrigerate. Watery sauce becomes loose again when warm.
Coating: Coarse panko gives an airy crunch. The egg coats the outside only. Some egg and crumbs remain unused. This base contains wheat, milk and egg; check the curry and panko labels for other allergens.
How to make curry bread: nine detailed photo steps
1. Check and chill the filling
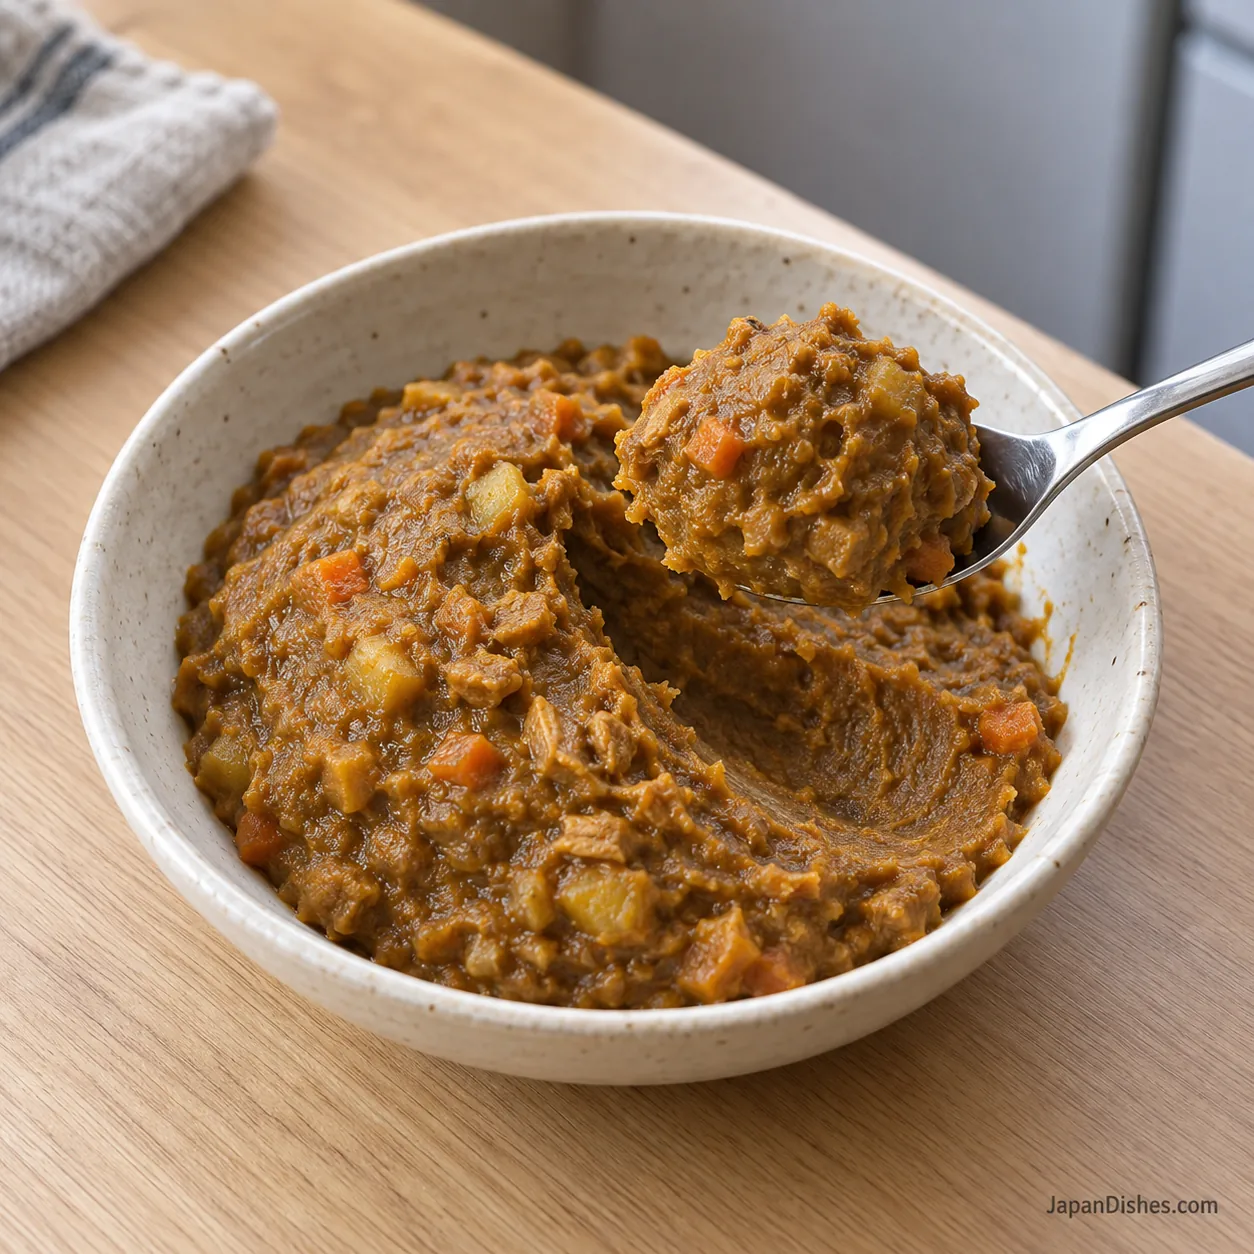
Measure 200 g fully cooked, thick Japanese curry. Chop any large pieces to 1 cm or smaller and mash a few soft potato pieces if helpful. Draw a spoon through it: the channel should remain and a spoonful should hold a mound. Cover and refrigerate at 4°C (40°F) or below until shaping. If the curry needs reducing and chilling, do that in advance; the recipe time assumes it is ready.
Keep filling refrigerated during the first rise.
2. Mix the dough
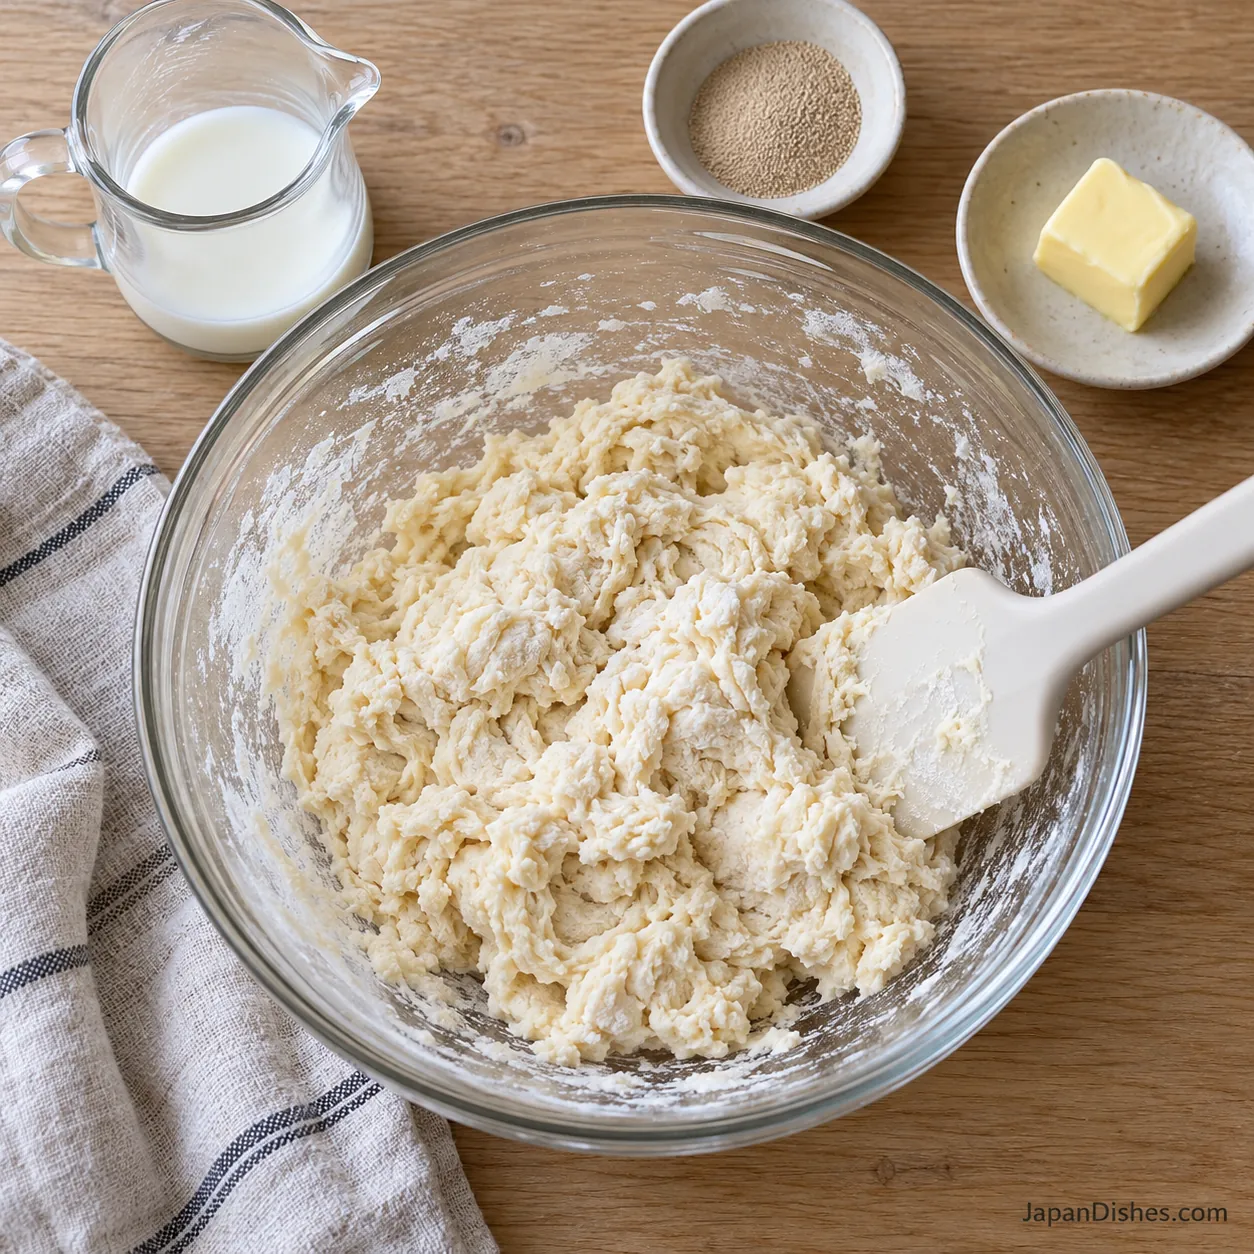
In a bowl, combine 150 g bread flour, 50 g cake flour, 15 g sugar, 3 g fine salt and 3 g instant yeast. Add 125 ml whole milk warmed to 30–35°C (86–95°F). Mix with a spatula for about 2 minutes, scraping the bowl, until there are no dry pockets and a rough dough forms. If very dry flour remains, work in milk 1 teaspoon at a time rather than adding a large splash.
3. Knead in butter until elastic
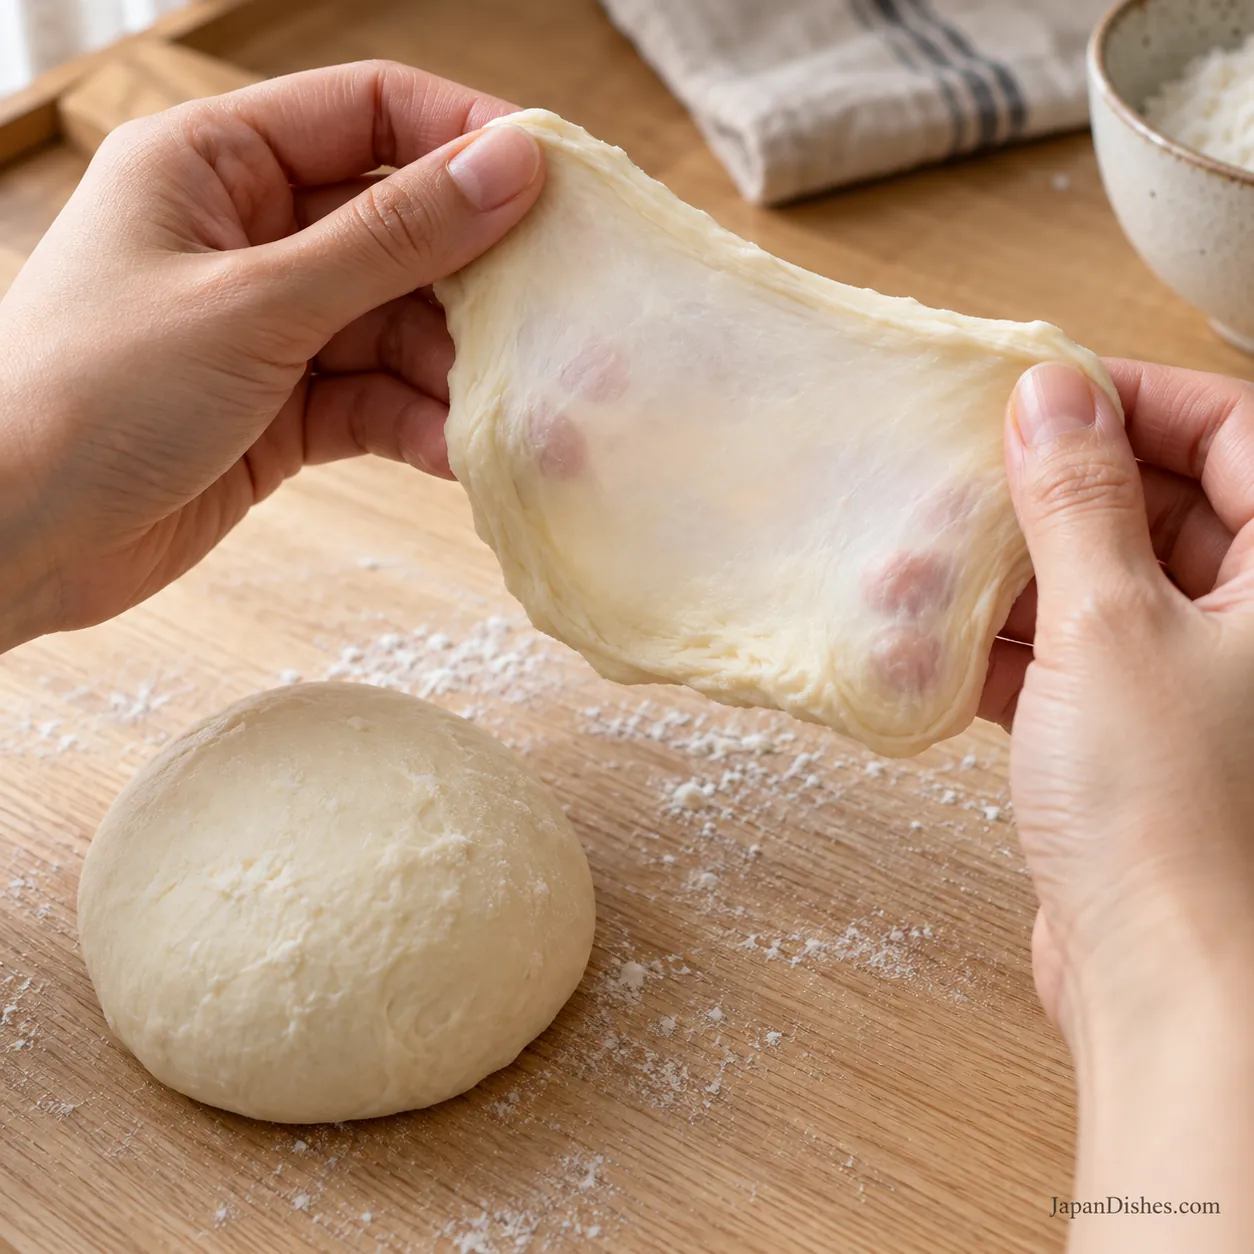
Work 10 g softened unsalted butter into the dough. It may smear and feel slippery initially; keep folding until absorbed. Knead on a barely floured counter for about 8–12 minutes, pressing forward, folding and turning. Aim for smooth, supple dough that is slightly tacky. Rest a small piece for 1 minute, then stretch it gently: it should form a thin translucent membrane before tearing. If it tears immediately, knead a little longer and recheck.
Use a scraper for sticking rather than repeatedly adding flour.
4. Let the dough complete its first rise
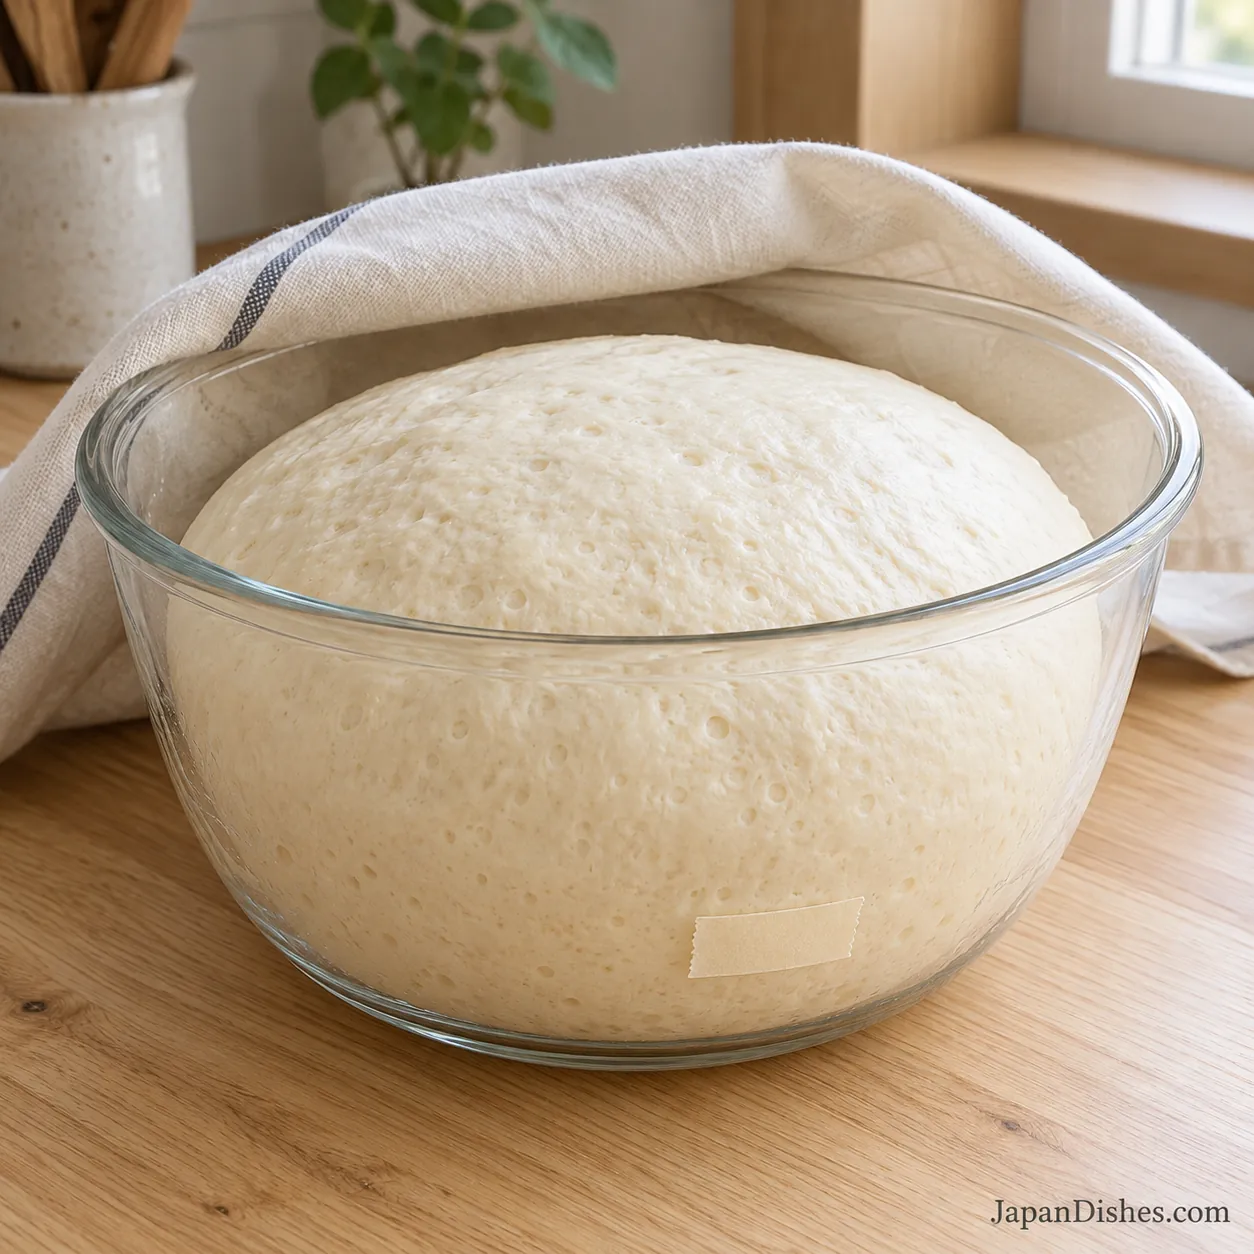
Round the dough and put it in a lightly oiled bowl, seam underneath. Cover and leave in a comfortably warm, draft-free place, about 24–27°C (75–81°F), until roughly doubled, commonly 60–90 minutes. Look for a visibly fuller, airy dough. A lightly floured finger pressed about 1 cm into it should leave an indentation that fills slowly rather than bouncing back immediately. Give it more time if still tight and springy.
Avoid hot ovens and direct heat.
5. Divide into eight and rest
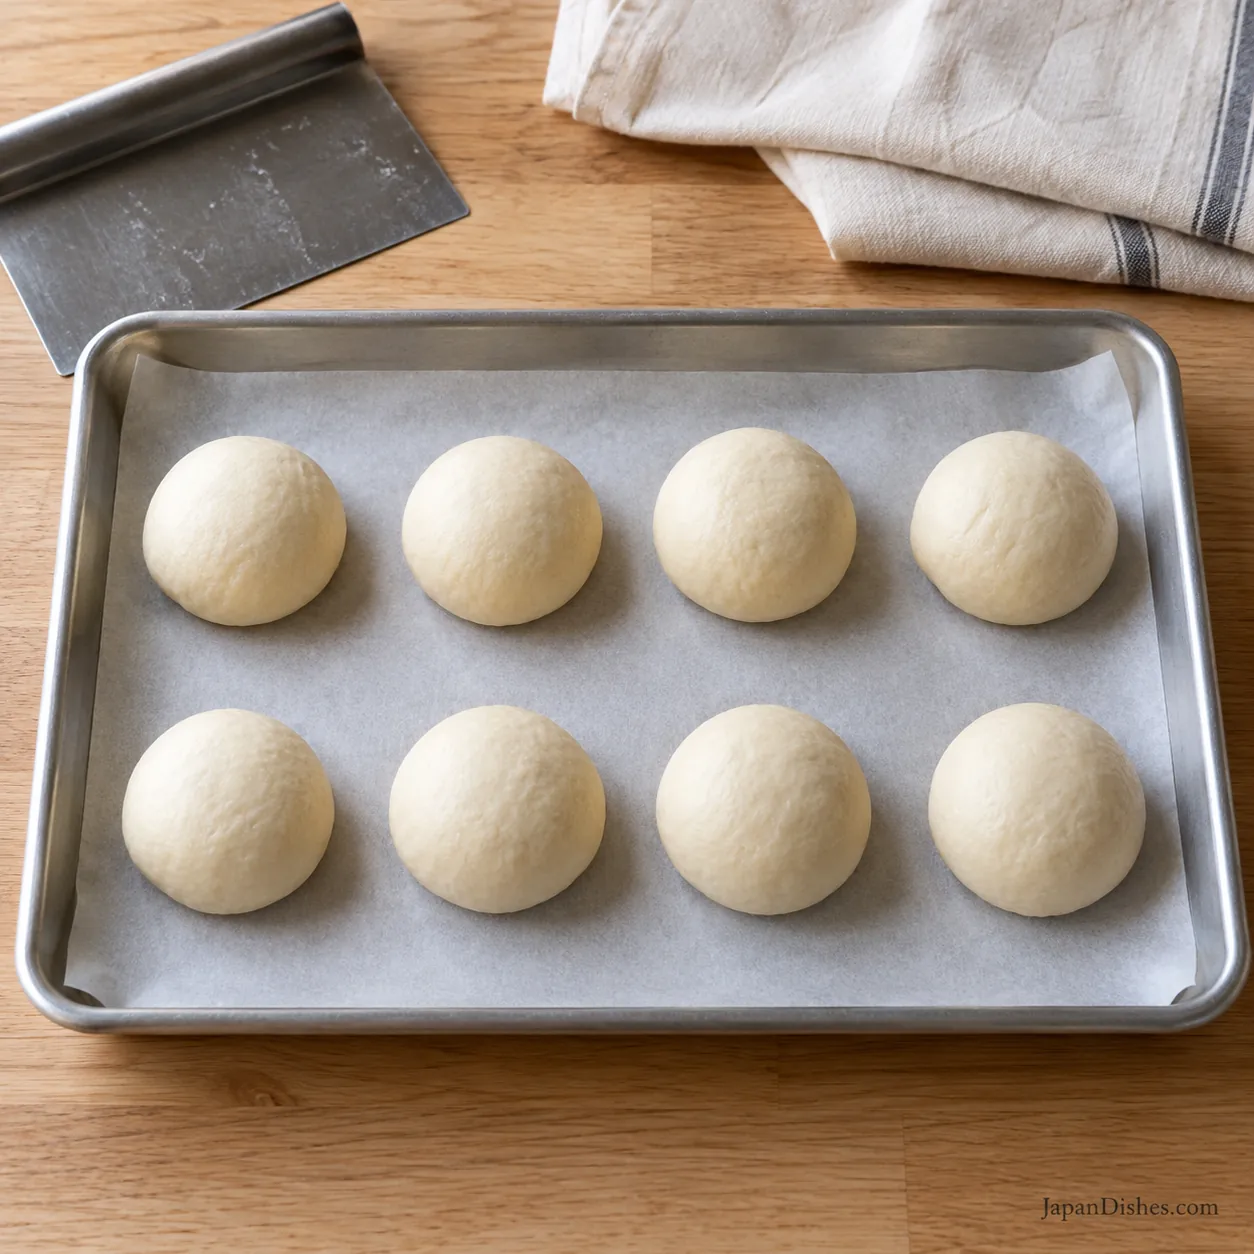
Turn the risen dough onto a lightly dusted counter and press gently to release large gas pockets. Weigh the whole dough and divide that weight by eight; expect about 44–45 g per piece. Shape eight smooth balls by drawing the edges underneath and pinching the seam. Place seam-down on a tray, cover so the surface stays soft, and rest for 15 minutes before rolling.
6. Roll, fill and double-seal
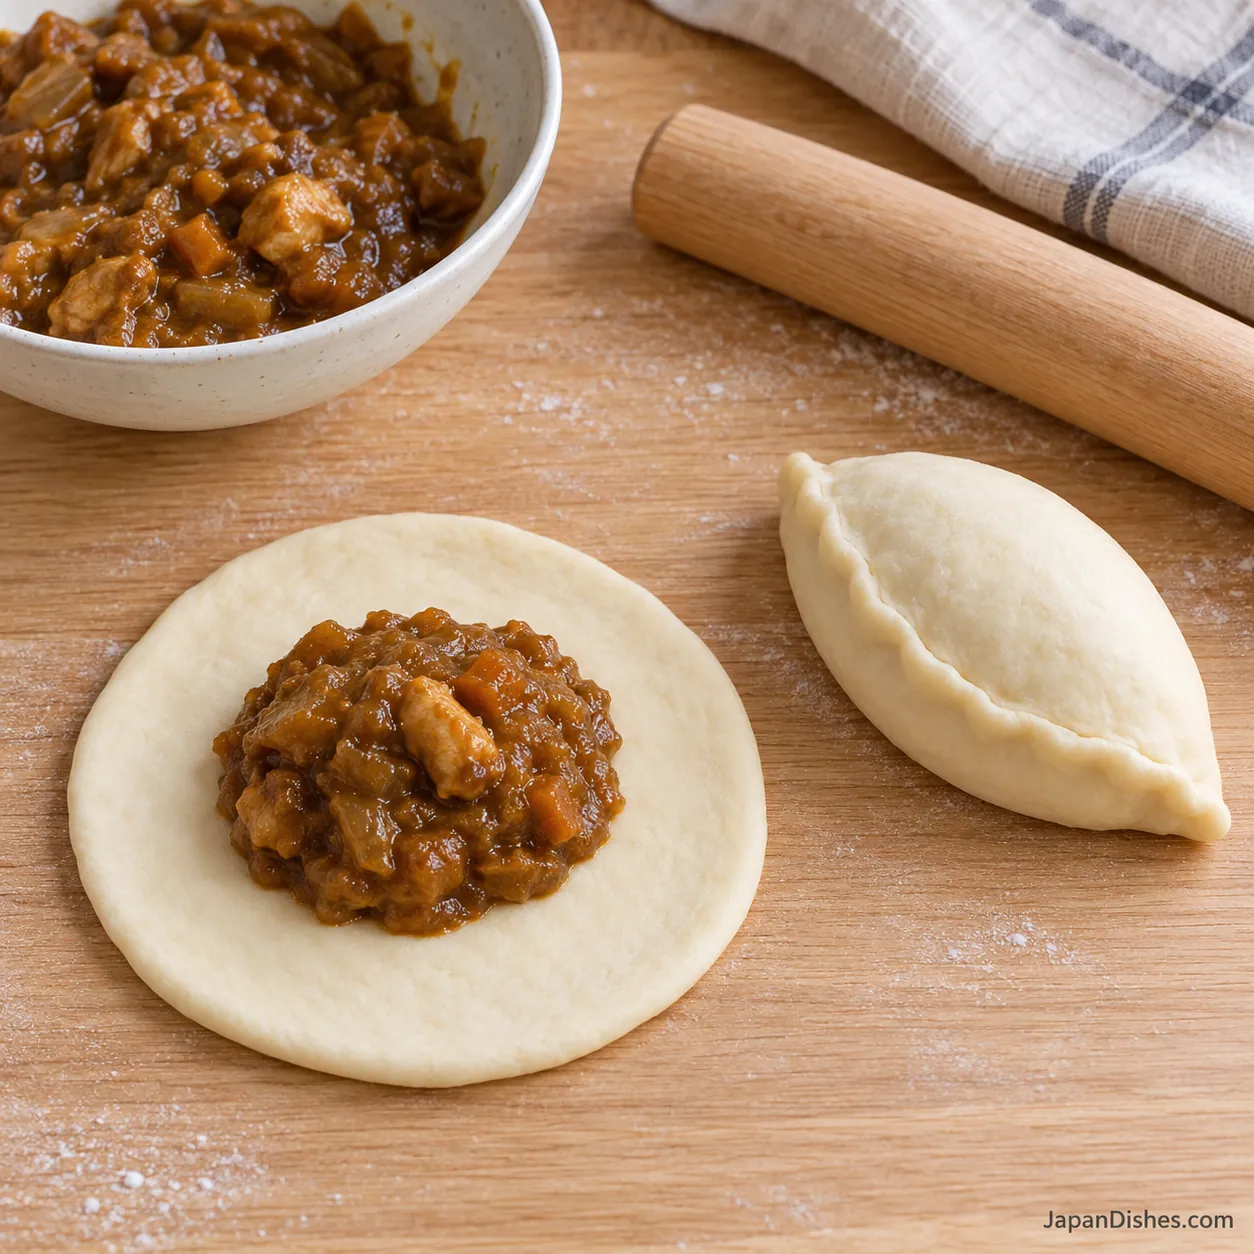
Take the curry from the refrigerator now and portion into eight 25 g mounds. Roll one dough ball into a roughly 10–11 cm round, leaving the center a little thicker and thinning the rim gently. Put one mound in the center with a clean border about 2 cm wide. Fold into a half-moon, easing out trapped air without squeezing filling toward the edge. Pinch the entire seam firmly, then fold that narrow seam over once and press again. Set seam-down and repeat.
If dough shrinks back, cover it and wait 5 minutes. Curry smeared on a rim prevents a reliable seal: remove the smear and expose clean dough before pinching. Never fry a visibly open bun.
7. Coat with egg and panko, then proof
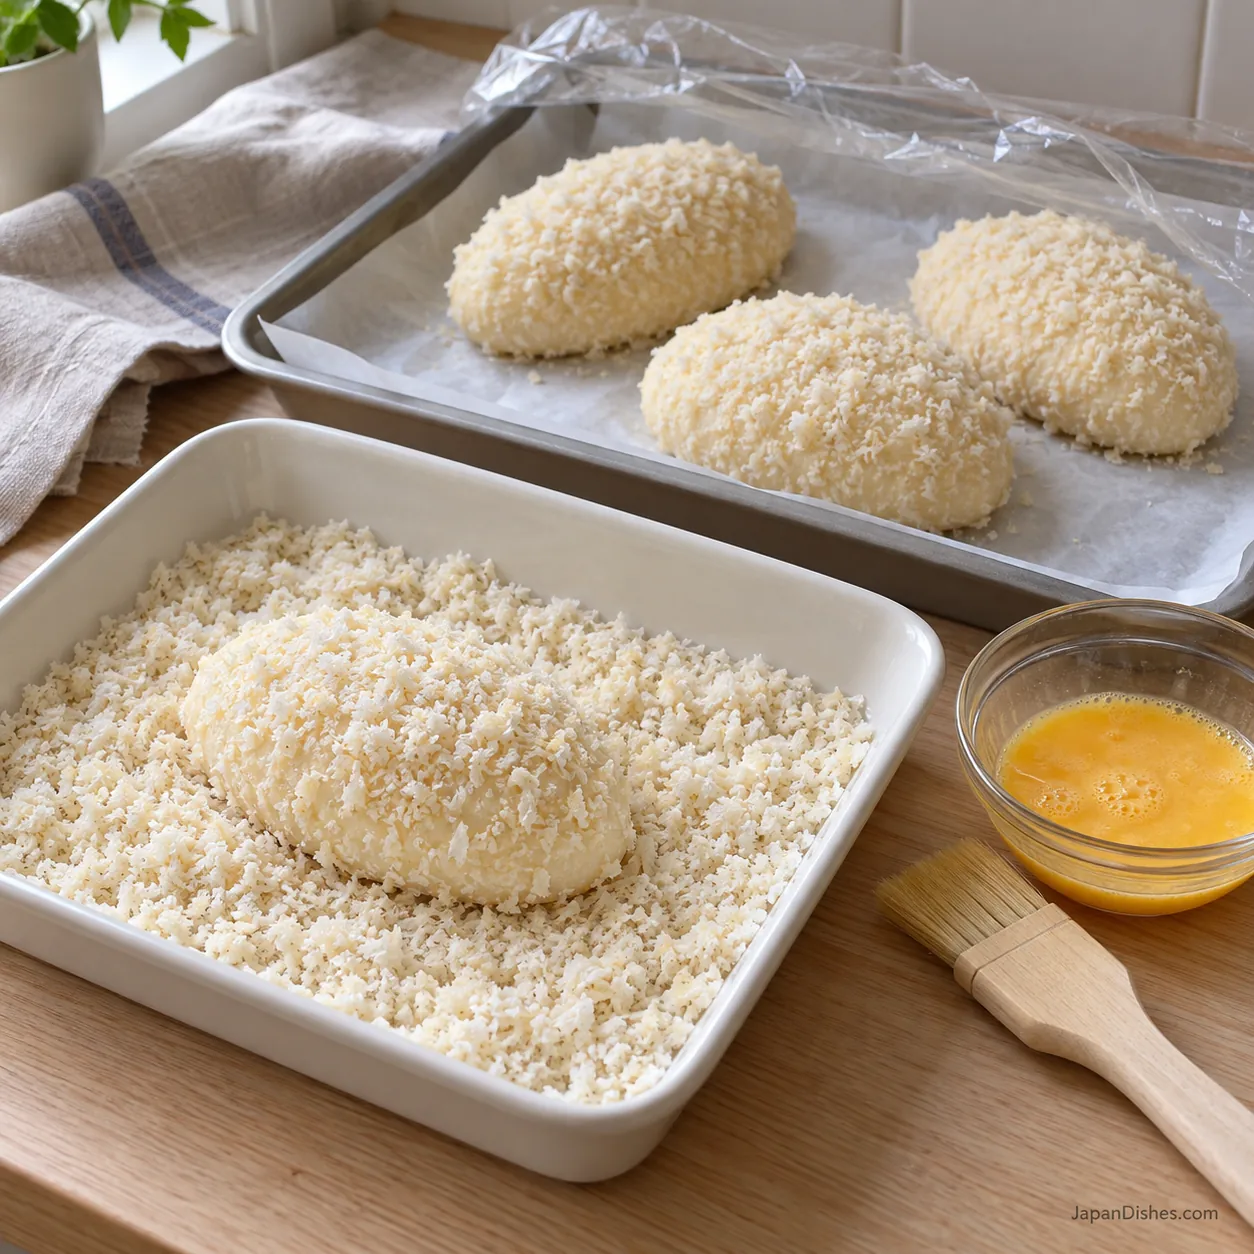
Beat one egg in a small bowl and spread 60 g panko in a shallow dish. Brush each sealed bun lightly all over with egg, then cover with panko, patting gently. Space seam-down on a lined tray and cover loosely without pressing the tops. Let rise at about 24–27°C until noticeably puffy, around 1½ times their shaped size, usually 45–60 minutes. A very gentle touch on an uncoated patch should spring back slowly, leaving a slight dent.
Count shaping and final proofing in the filling’s time out of refrigeration. Keep that total under 2 hours, or 1 hour above 32°C (90°F); choose a cooler room for this method.
8. Fry small batches at a steady temperature
During the last part of proofing, heat a 4–5 cm depth of neutral oil in a deep heavy pot to 160–165°C (320–329°F). Keep the pot no more than one-third full of oil and leave ample headroom. Using a dry skimmer, lower two buns seam-down into the oil, away from you. Turn after 10–15 seconds, then every 30–45 seconds for even expansion and color. Allow roughly 4–5 minutes per batch, adjusting the heat to maintain the temperature. Remove loose crumbs and let the oil recover between batches.
Do not crowd the pot or put parchment into the oil. If a bun leaks, lower the heat and carefully lift it out with the skimmer; do not keep frying a leaking bun.

9. Check the center, drain and serve
Lift a bun onto a rack over a tray. Probe through its side into the curry center: the previously cooked filling should reach at least 74°C (165°F). Check each bun before serving. Cut the first one after a brief rest to check the bread too: it should have set, airy crumb with no sticky raw dough band beside the filling. If the crust is ready before the center, finish the buns on a tray in a 160°C (320°F) conventional oven until both checks pass. Drain the finished buns on the rack for about 5 minutes and serve warm.
The filling stays hot after the outside feels comfortable to touch.
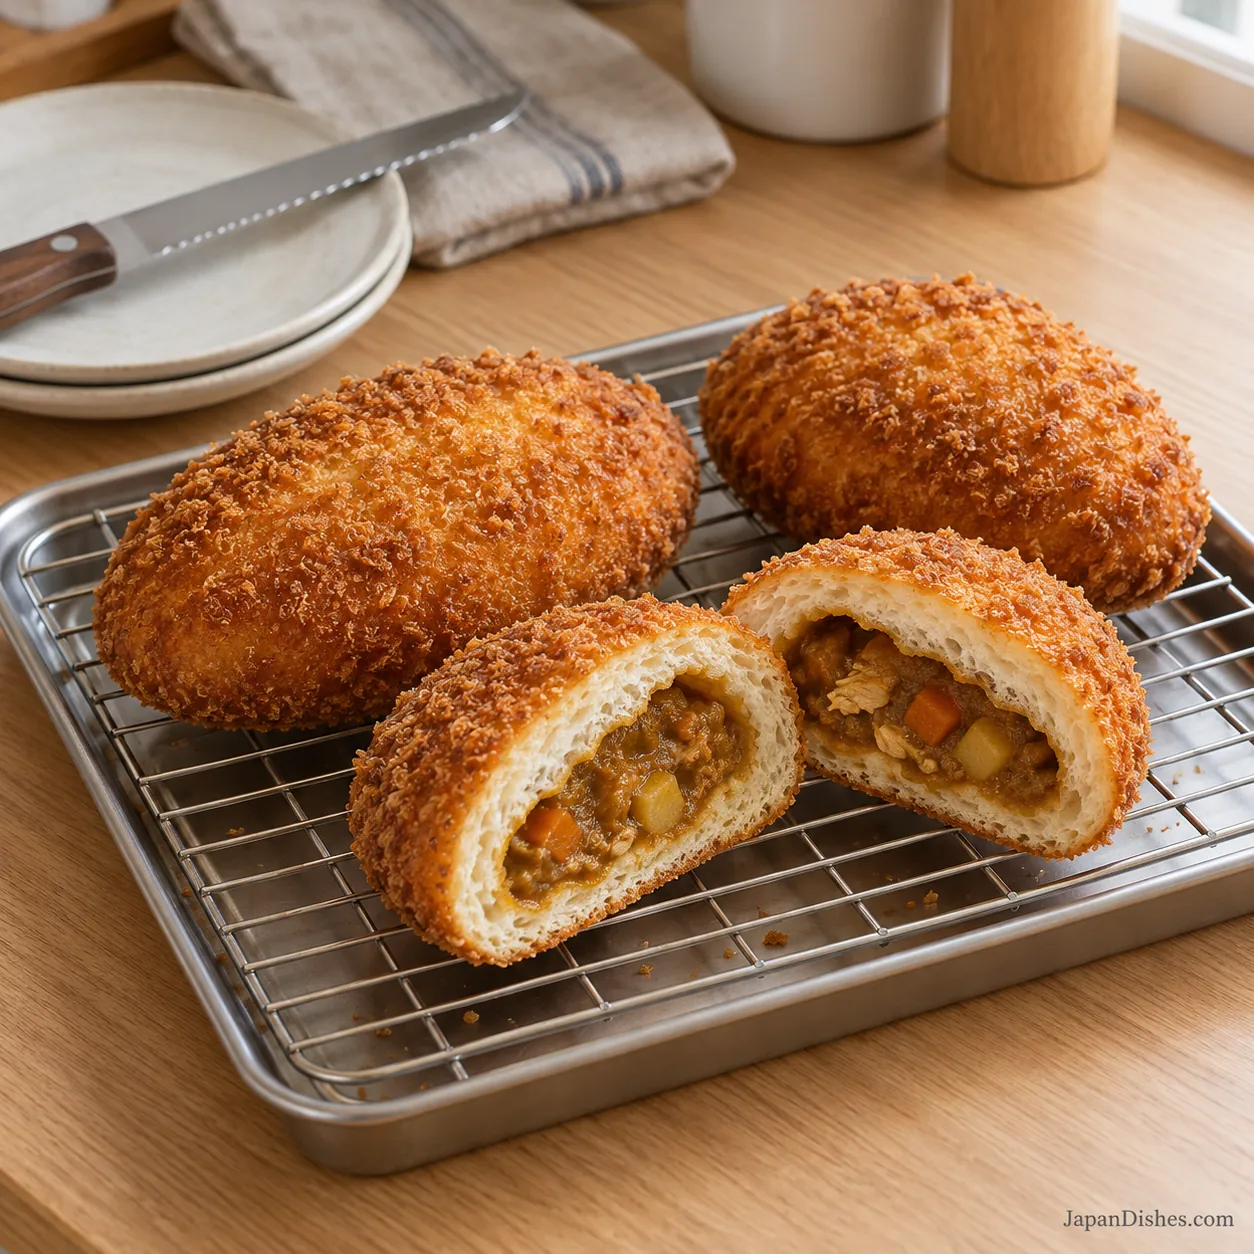
Tips for crisp, well-sealed Kare Pan
Keep filling modest
Weigh 25 g for each bun and leave a clean border. A larger, wetter portion stretches the wrapper and pushes against the seal.
Watch the second rise
Underproofed buns may split; very overproofed dough becomes fragile. Look for puffy dough and slow spring-back, without waiting for the filled buns to double.
Check the first batch carefully
Bun thickness and pot temperature change cooking time. Check the center and cut crumb, then adjust. If browning is too fast, restore the oil temperature before adding more.
Variations
Vegetarian: Use thick vegetable curry with cooked lentils or finely chopped mushrooms. Check roux and stock ingredients; keep 25 g portions. The standard wrapper and coating still contain dairy and egg.
Milder curry bread: Choose a mild filling. Baking and air-frying change the coating and heat transfer, so they need separate tested directions rather than the frying times here.
Serving your curry bread
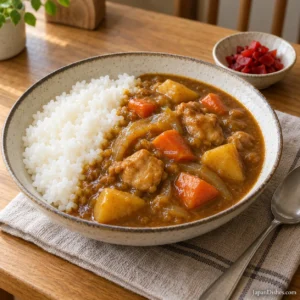
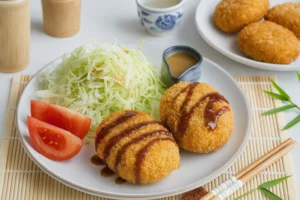
Serve one or two buns with salad or tea. Our Japanese Chicken Curry can provide the filling once thickened and chilled. For another panko dish, bookmark our Japanese Korokke. The pictures below link to both recipes.
Storage and reheating
Refrigerate finished buns promptly in a shallow container, within 2 hours of frying, or 1 hour above 32°C (90°F). Keep at 4°C (40°F) or below and use within 2 days for quality. Reheat in a 170°C (338°F) conventional oven until the curry center reaches 74°C (165°F); cover loosely if the coating darkens. Timing depends on bun size and starting temperature.
For longer storage, freeze the fully cooked buns individually, then bag for up to 1 month for quality. Thaw overnight in the refrigerator before reheating. This recipe does not cover frying frozen raw filled dough.
For more background, see King Arthur’s dough-proofing guide and the USDA guide to safe deep-frying.
Frequently asked questions
Can I use yesterday’s curry?
Yes, if cooled and refrigerated promptly and still within its safe storage period. It must be fully cooked, thick and finely cut. Do not use leftovers kept too long at room temperature.
Why did the seam open?
Filling on the rim, overfilling, dried dough or incomplete pinching can weaken the seal. Keep balls covered, weigh the filling and inspect the seam before coating. Never fry an open bun.
Why is the crust oily?
Cool oil or an overcrowded pot can leave the coating heavy. Use a thermometer, fry small batches and drain without stacking. Check doneness instead of simply frying longer.
Can I prepare ahead?
Prepare and chill the curry a day ahead, then make and fry the buns the next day. For longer storage, freeze fully cooked buns rather than improvising with raw filled dough.

Curry Bread (Kare Pan) カレーパン
Course: SnackCuisine: JapaneseDifficulty: Intermediate8
buns55
minutes25
minutes3
hours30
minutesJapanese curry bread with a soft milk dough, 25 g thick cooked curry per bun and a crisp panko coating. Makes eight buns with nine detailed instruction stages. Allow about 3½ hours with chilled filling ready.
Ingredients
150 g bread flour, plus a little for dusting
50 g cake flour
15 g granulated sugar
3 g fine salt
3 g instant yeast (about 1 teaspoon)
125 ml whole milk, warmed to 30–35°C (86–95°F); extra by the teaspoon only if needed
10 g unsalted butter, softened
200 g fully cooked thick Japanese curry, chilled; 25 g per bun, with pieces 1 cm or smaller
1 large egg, beaten, for coating only
60 g coarse Japanese panko (about 1 cup), plus a little if needed
Neutral frying oil, about 1 liter or enough for a 4–5 cm depth without filling the pot more than one-third
A few drops of neutral oil for the rising bowl
Directions
- Measure 200 g fully cooked, thick Japanese curry. Chop any large pieces to 1 cm or smaller and mash a few soft potato pieces if helpful. Draw a spoon through it: the channel should remain and a spoonful should hold a mound. Cover and refrigerate at 4°C (40°F) or below until shaping. If the curry needs reducing and chilling, do that in advance; the recipe time assumes it is ready.

- In a bowl, combine 150 g bread flour, 50 g cake flour, 15 g sugar, 3 g fine salt and 3 g instant yeast. Add 125 ml whole milk warmed to 30–35°C (86–95°F). Mix with a spatula for about 2 minutes, scraping the bowl, until there are no dry pockets and a rough dough forms. If very dry flour remains, work in milk 1 teaspoon at a time rather than adding a large splash.
- Work 10 g softened unsalted butter into the dough. It may smear and feel slippery initially; keep folding until absorbed. Knead on a barely floured counter for about 8–12 minutes, pressing forward, folding and turning. Aim for smooth, supple dough that is slightly tacky. Rest a small piece for 1 minute, then stretch it gently: it should form a thin translucent membrane before tearing. If it tears immediately, knead a little longer and recheck.
- Round the dough and put it in a lightly oiled bowl, seam underneath. Cover and leave in a comfortably warm, draft-free place, about 24–27°C (75–81°F), until roughly doubled, commonly 60–90 minutes. Look for a visibly fuller, airy dough. A lightly floured finger pressed about 1 cm into it should leave an indentation that fills slowly rather than bouncing back immediately. Give it more time if still tight and springy.
- Turn the risen dough onto a lightly dusted counter and press gently to release large gas pockets. Weigh the whole dough and divide that weight by eight; expect about 44–45 g per piece. Shape eight smooth balls by drawing the edges underneath and pinching the seam. Place seam-down on a tray, cover so the surface stays soft, and rest for 15 minutes before rolling.
- Take the curry from the refrigerator now and portion into eight 25 g mounds. Roll one dough ball into a roughly 10–11 cm round, leaving the center a little thicker and thinning the rim gently. Put one mound in the center with a clean border about 2 cm wide. Fold into a half-moon, easing out trapped air without squeezing filling toward the edge. Pinch the entire seam firmly, then fold that narrow seam over once and press again. Set seam-down and repeat.
- Beat one egg in a small bowl and spread 60 g panko in a shallow dish. Brush each sealed bun lightly all over with egg, then cover with panko, patting gently. Space seam-down on a lined tray and cover loosely without pressing the tops. Let rise at about 24–27°C until noticeably puffy, around 1½ times their shaped size, usually 45–60 minutes. A very gentle touch on an uncoated patch should spring back slowly, leaving a slight dent.
- During the last part of proofing, heat a 4–5 cm depth of neutral oil in a deep heavy pot to 160–165°C (320–329°F). Keep the pot no more than one-third full of oil and leave ample headroom. Using a dry skimmer, lower two buns seam-down into the oil, away from you. Turn after 10–15 seconds, then every 30–45 seconds for even expansion and color. Allow roughly 4–5 minutes per batch, adjusting the heat to maintain the temperature. Remove loose crumbs and let the oil recover between batches.
- Lift a bun onto a rack over a tray. Probe through its side into the curry center: the previously cooked filling should reach at least 74°C (165°F). Check each bun before serving. Cut the first one after a brief rest to check the bread too: it should have set, airy crumb with no sticky raw dough band beside the filling. If the crust is ready before the center, finish the buns on a tray in a 160°C (320°F) conventional oven until both checks pass. Drain the finished buns on the rack for about 5 minutes and serve warm.
Notes
- Yield: eight small buns. Approximate schedule: 55 minutes preparation, 25 minutes heating and batch-frying, plus 130 minutes rising/resting; about 3½ hours total. First rise is usually 60–90 minutes, bench rest 15 minutes, final rise 45–60 minutes. Dough and room temperature change the schedule. Making, reducing and chilling the curry are excluded. Use only fully cooked filling; keep chilled until shaping and limit its total time out, including proofing, to under 2 hours (1 hour above 32°C/90°F). Fry at 160–165°C and check the filling reaches 74°C/165°F with the surrounding dough fully cooked. Some egg, crumbs and frying oil remain unused. Contains wheat, milk and egg; check filling and panko labels for other allergens.