
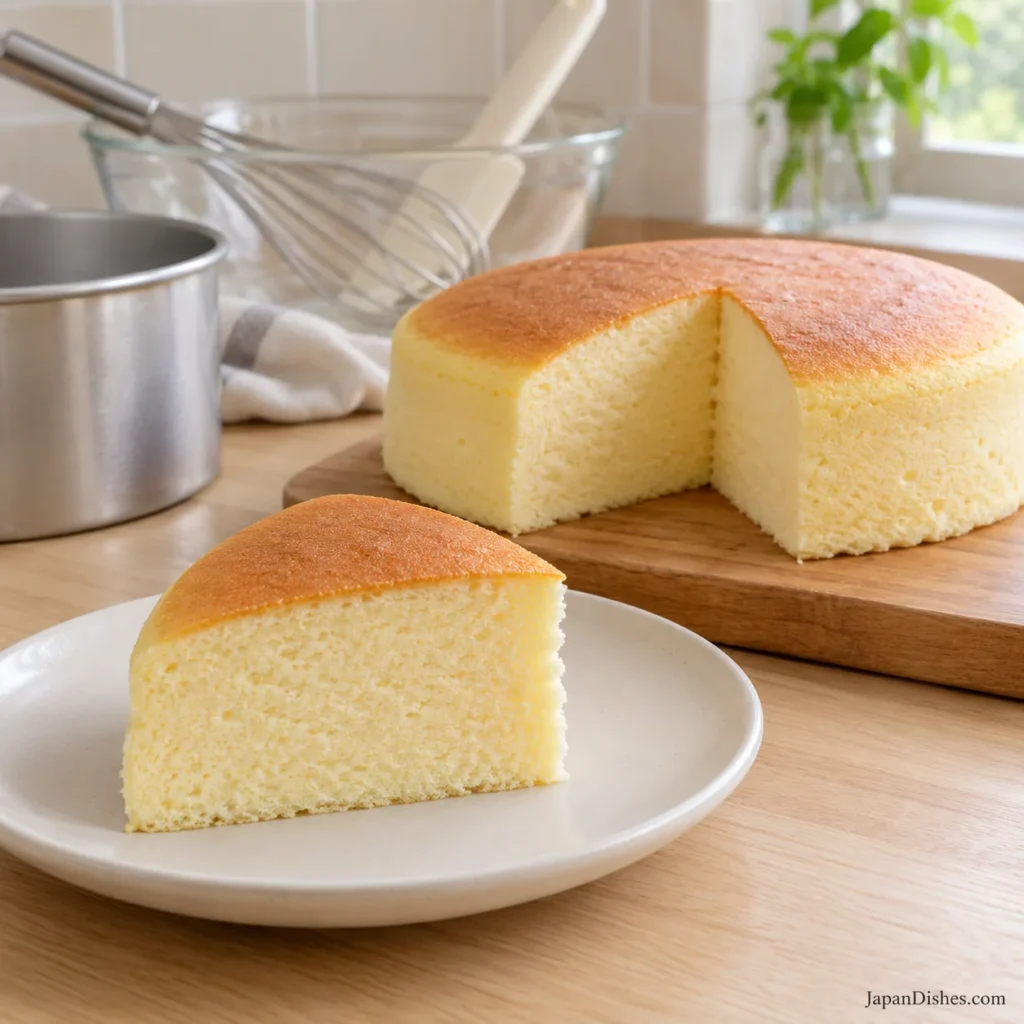
Want a fluffy Japanese cotton cheesecake with a soft, airy crumb rather than a heavy, wet center? The important moments are easy to miss: smoothing the cheese, stopping the meringue at a flexible peak and folding right down to the bottom of the bowl. This guide makes those moments visible.
Welcome to Hana’s kitchen at JapanDishes. Set out your ingredients, read through the photo steps and give yourself a quiet afternoon for this delicate bake. We’ll use one deep 20 cm tin, a gentle water bath and ten illustrated stages. The same detailed directions appear in the recipe card, so you can keep everything together while baking.
What is Japanese cotton cheesecake?
Japanese cotton cheesecake, also called soufflé cheesecake, combines a cream-cheese base with whipped egg whites. Air held in the meringue expands in the oven, giving the cake its fine, springy texture. It has no biscuit crust and no baking powder in this version. A thin golden top and a modest amount of settling are normal.
Warm cake feels softer and more sponge-like; chilled cake feels creamier and slices more neatly. Neither should have a raw, flowing center. This is a technique-sensitive dessert, so the quick facts rate it intermediate rather than easy. Plan around 30 minutes of preparation, 70–80 minutes of baking, about 1 hour of gradual cooling and at least 4 hours of chilling.
Ingredients and equipment
- 250 g full-fat block cream cheese, softened
- 50 g unsalted butter, plus extra for greasing
- 100 ml whole milk
- 6 large eggs, separated (about 300 g without shells)
- 140 g caster sugar, divided: 40 g for the base and 100 g for the whites
- 60 g cake flour (not self-raising)
- 20 g cornstarch (cornflour)
- 1 teaspoon vanilla extract
- 2 teaspoons lemon juice
- 1 teaspoon finely grated lemon zest
- ¼ teaspoon cream of tartar
- ⅛ teaspoon fine salt
- Hot water for the water bath; not added to the batter
Use the specified tin. Choose a light-colored, solid-bottom 20 cm/8-inch round tin, at least 8 cm deep, plus a roasting tray with space around it. A smaller pan changes the depth and bake time; a loose-bottom pan can admit water. The parchment collar supports the rising batter, but it cannot make an undersized pan suitable.
Measure before mixing. A digital scale is useful here, especially for flour and sugar. Use full-fat block cream cheese and whole milk. Reduced-fat cheese and watery spreadable products change the batter. Do not swap in self-raising flour: the lift should come from the eggs. Contains milk, eggs and wheat.
Separate the eggs cleanly. Crack each egg into a small bowl before adding its white to the main bowl. That way, one broken yolk does not contaminate all the whites. Bring the measured dairy and eggs toward room temperature while preparing the tin; do not leave them out for hours. Wash and dry the whisk thoroughly after making the cheese base.
How to make Japanese cotton cheesecake: ten photo steps
1. Prepare the oven and pan
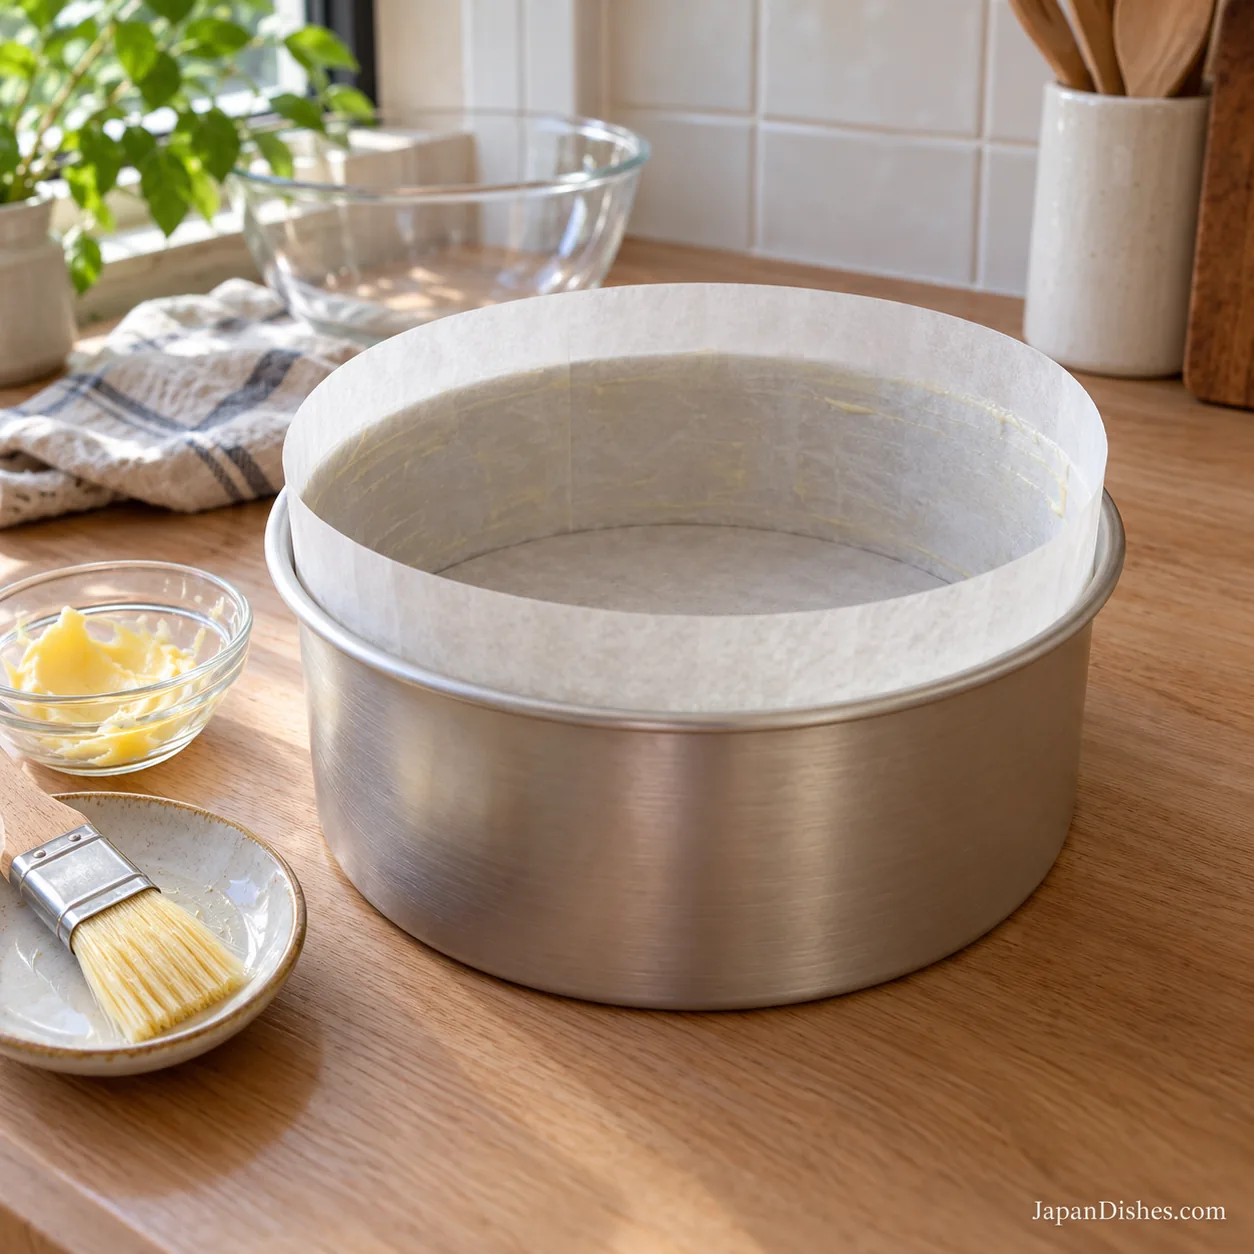
Preheat a conventional oven to 160°C/320°F, with a rack in the lower-middle position; switch the fan off. Butter the 20 cm solid-bottom tin, line its base with a parchment circle and fit a buttered parchment collar about 2 cm above the rim. Set out a larger roasting tray, a kettle, a scale, two mixing bowls and an electric mixer. Separate the six eggs and measure all the ingredients before starting.
2. Make a smooth dairy base
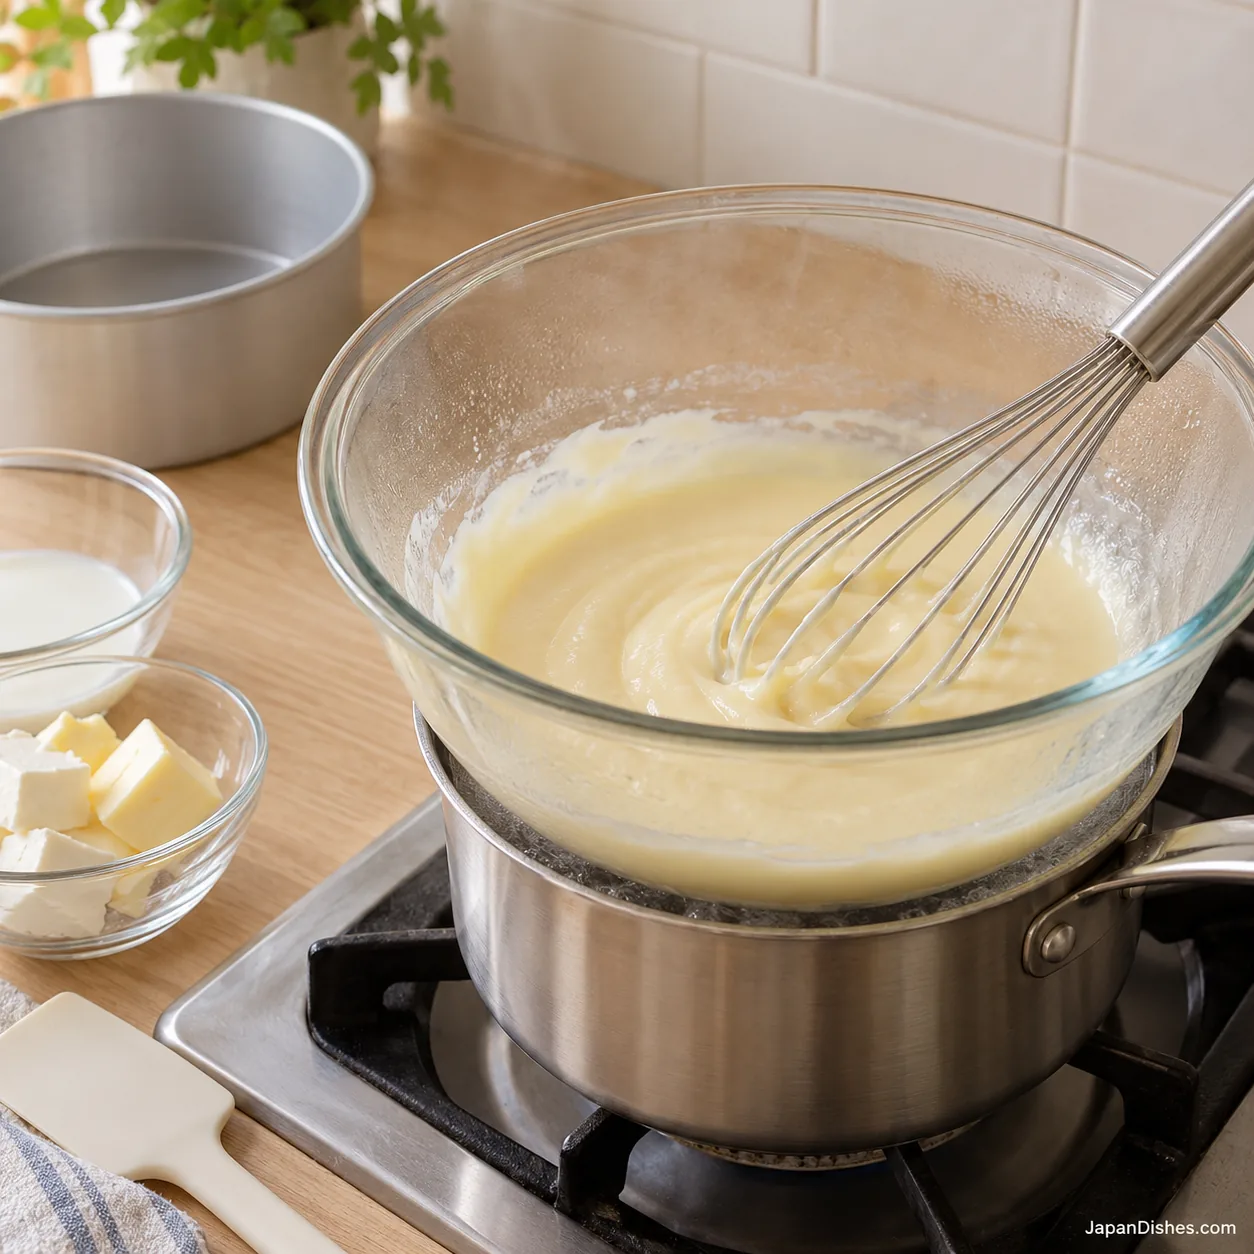
Put the cream cheese, butter, milk and 40 g of the sugar in a heatproof bowl. Rest it over a saucepan of barely simmering water, keeping the bowl’s base above the water. Whisk gently until the cheese has no visible lumps and the butter is incorporated. Lift the bowl off the saucepan and let the mixture cool until just lukewarm, stirring occasionally. It must not be hot when the yolks go in.
3. Add yolks, flavoring and dry ingredients
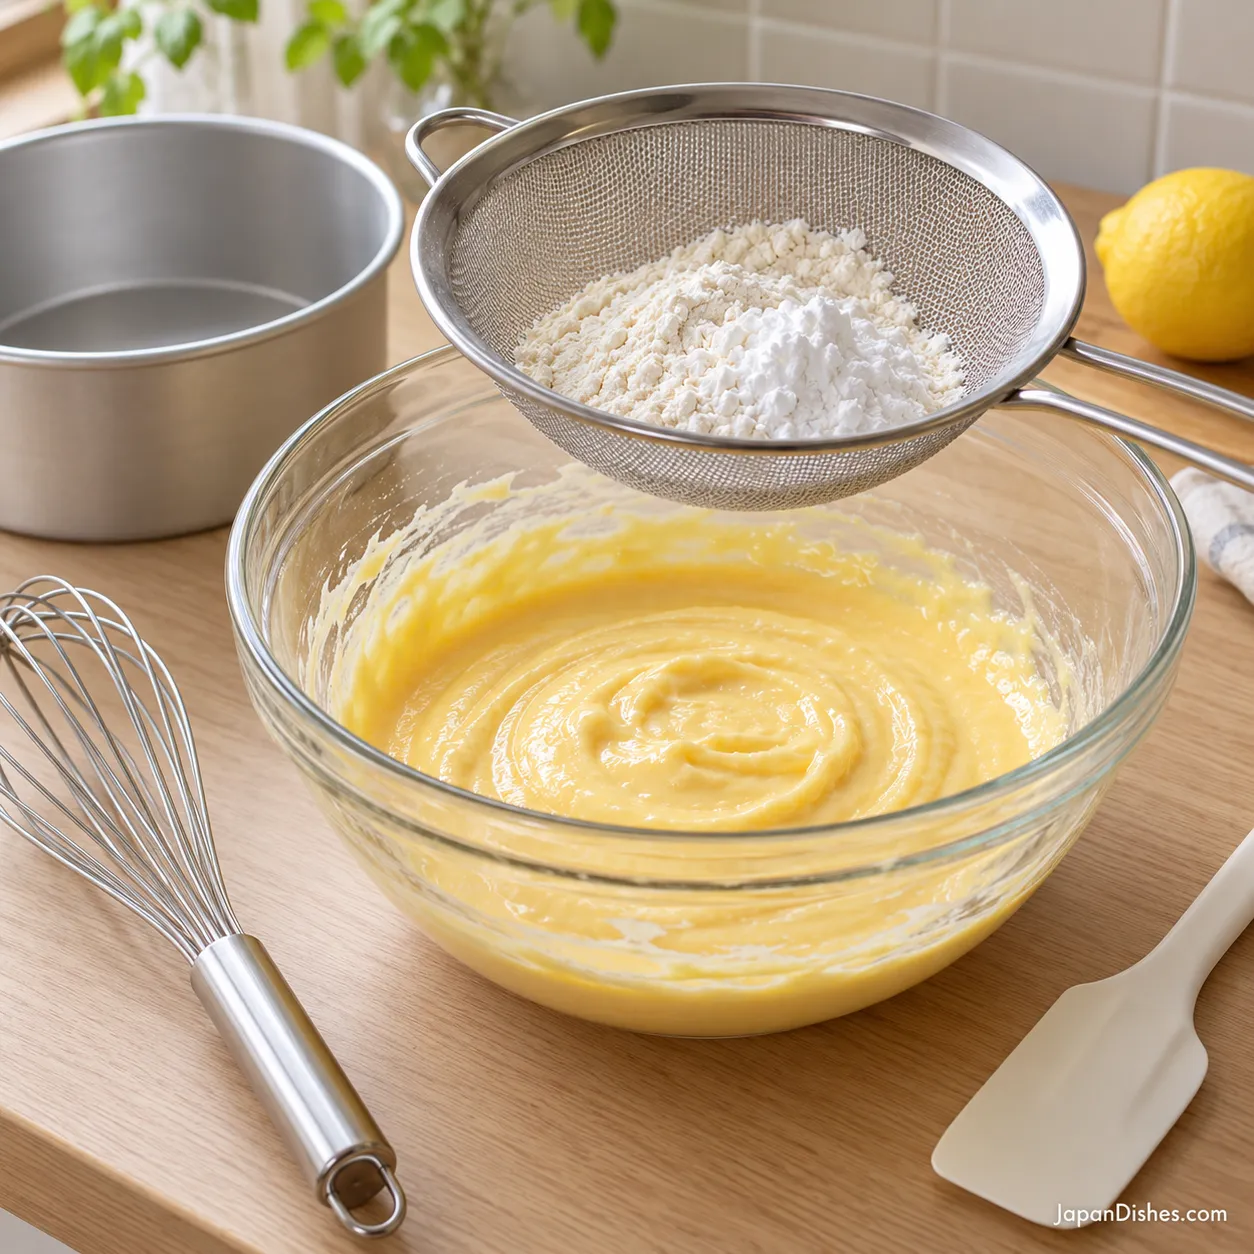
Whisk the yolks into the lukewarm base one at a time. Add the vanilla, lemon juice and zest. Sift the cake flour, cornstarch and salt over the bowl and whisk gently just until smooth. Scrape around the bowl and across its bottom. If there are stubborn lumps, pass the base through a fine sieve before proceeding; do not strain it after adding the meringue.
4. Beat the whites to an even foam
In a completely clean, dry bowl, combine the six egg whites with the cream of tartar. Beat on medium speed until the whites are foamy throughout and no pool of clear liquid remains at the bottom. Begin adding the remaining 100 g caster sugar gradually in three or four additions, letting each addition mix in before the next. Keep the mixer moving around the bowl.
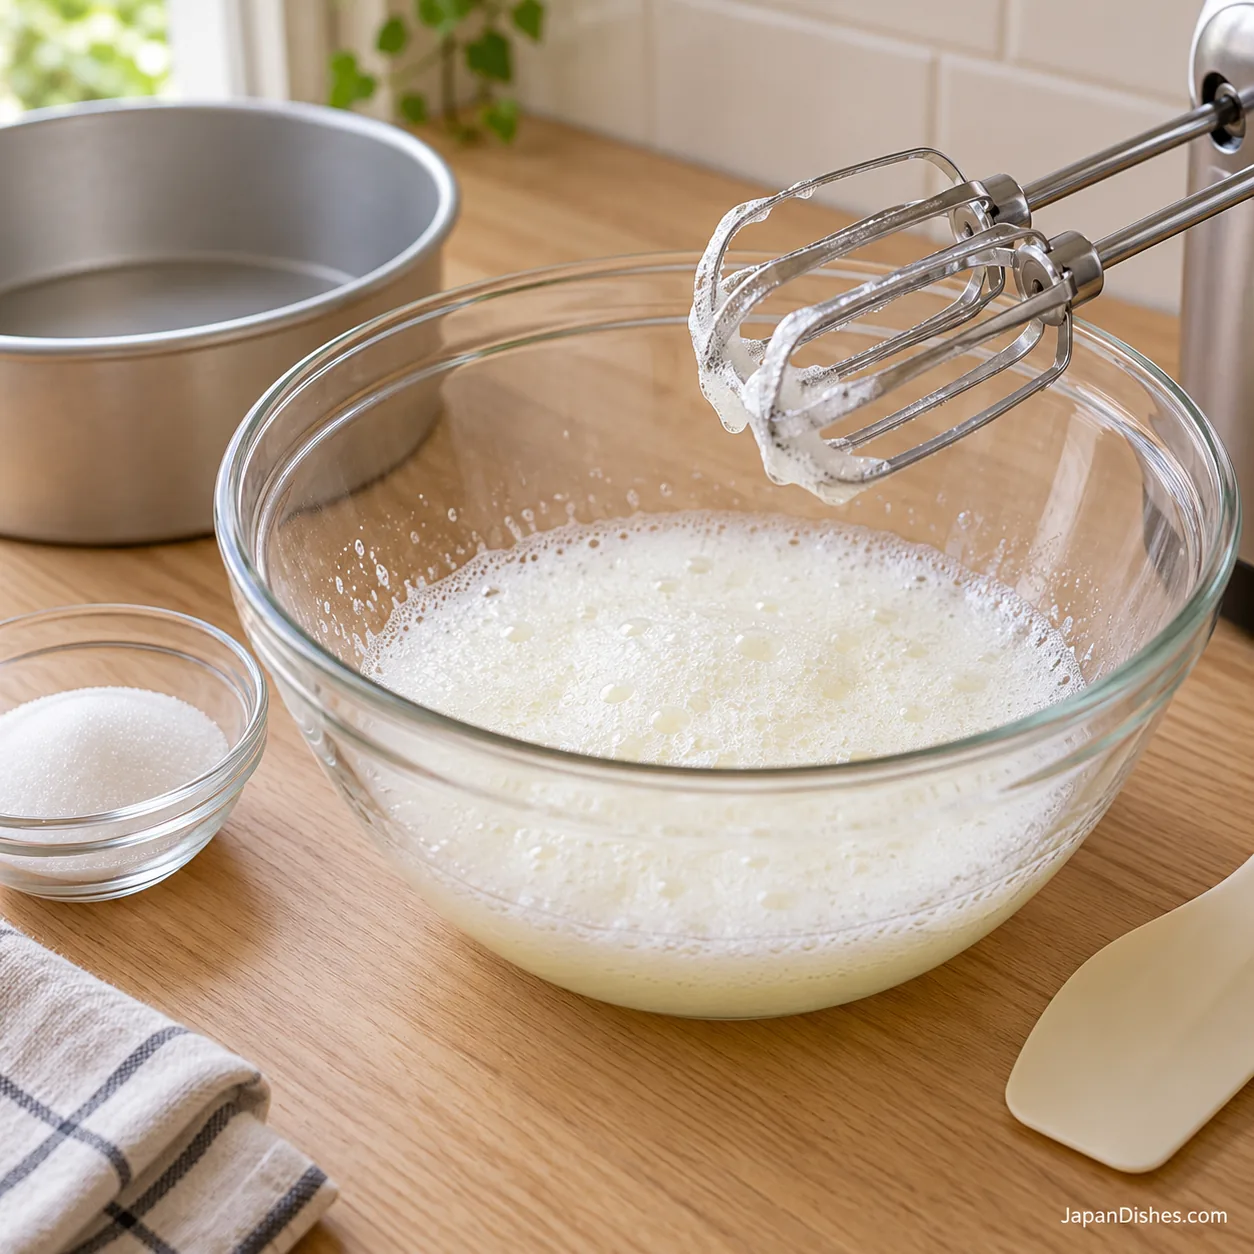
5. Check the meringue peak
Continue beating at medium speed until the meringue is glossy and holds a soft-to-medium peak. Stop the motor, lift the beaters and look: the peak should stand at its base while its upper tip bends over. If it falls flat immediately, beat a little longer and check again. Stop before it becomes rigid, dry or clumpy. Use the finished meringue promptly.
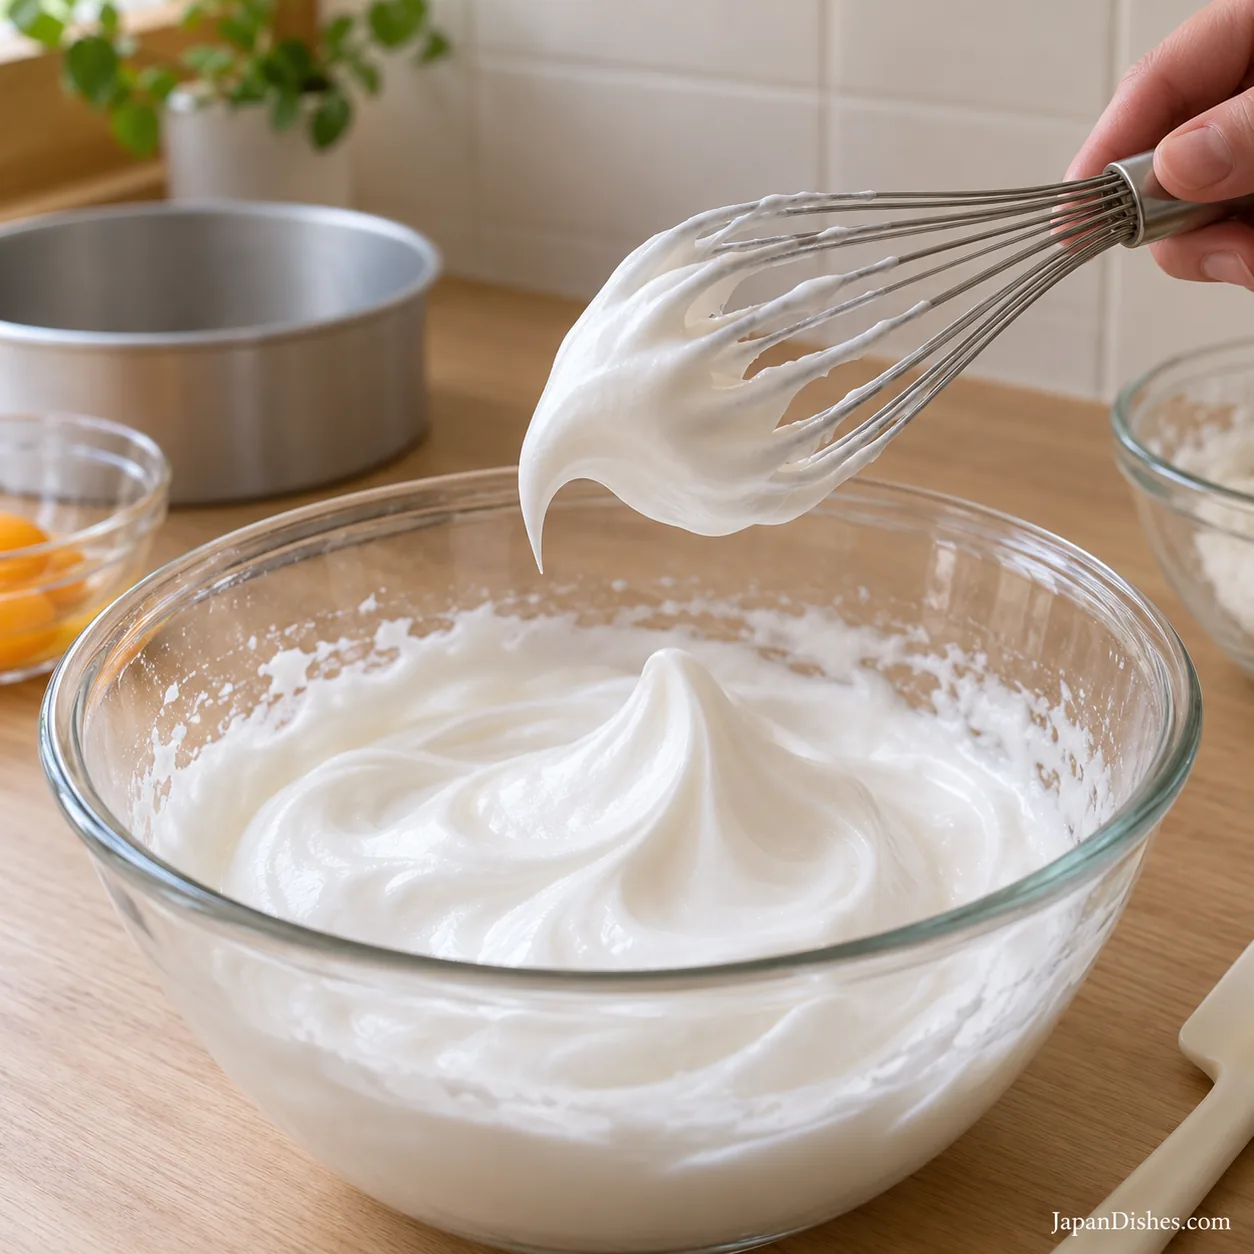
6. Fold without leaving a heavy bottom layer
Stir one third of the meringue into the cheese base with a whisk to lighten it. Add half of the remaining meringue and switch to a spatula. Cut through the center, sweep along the bottom and lift the batter over itself, rotating the bowl. Fold in the final portion the same way. Stop once no white streaks or dense yellow pockets remain; the batter should still look airy.
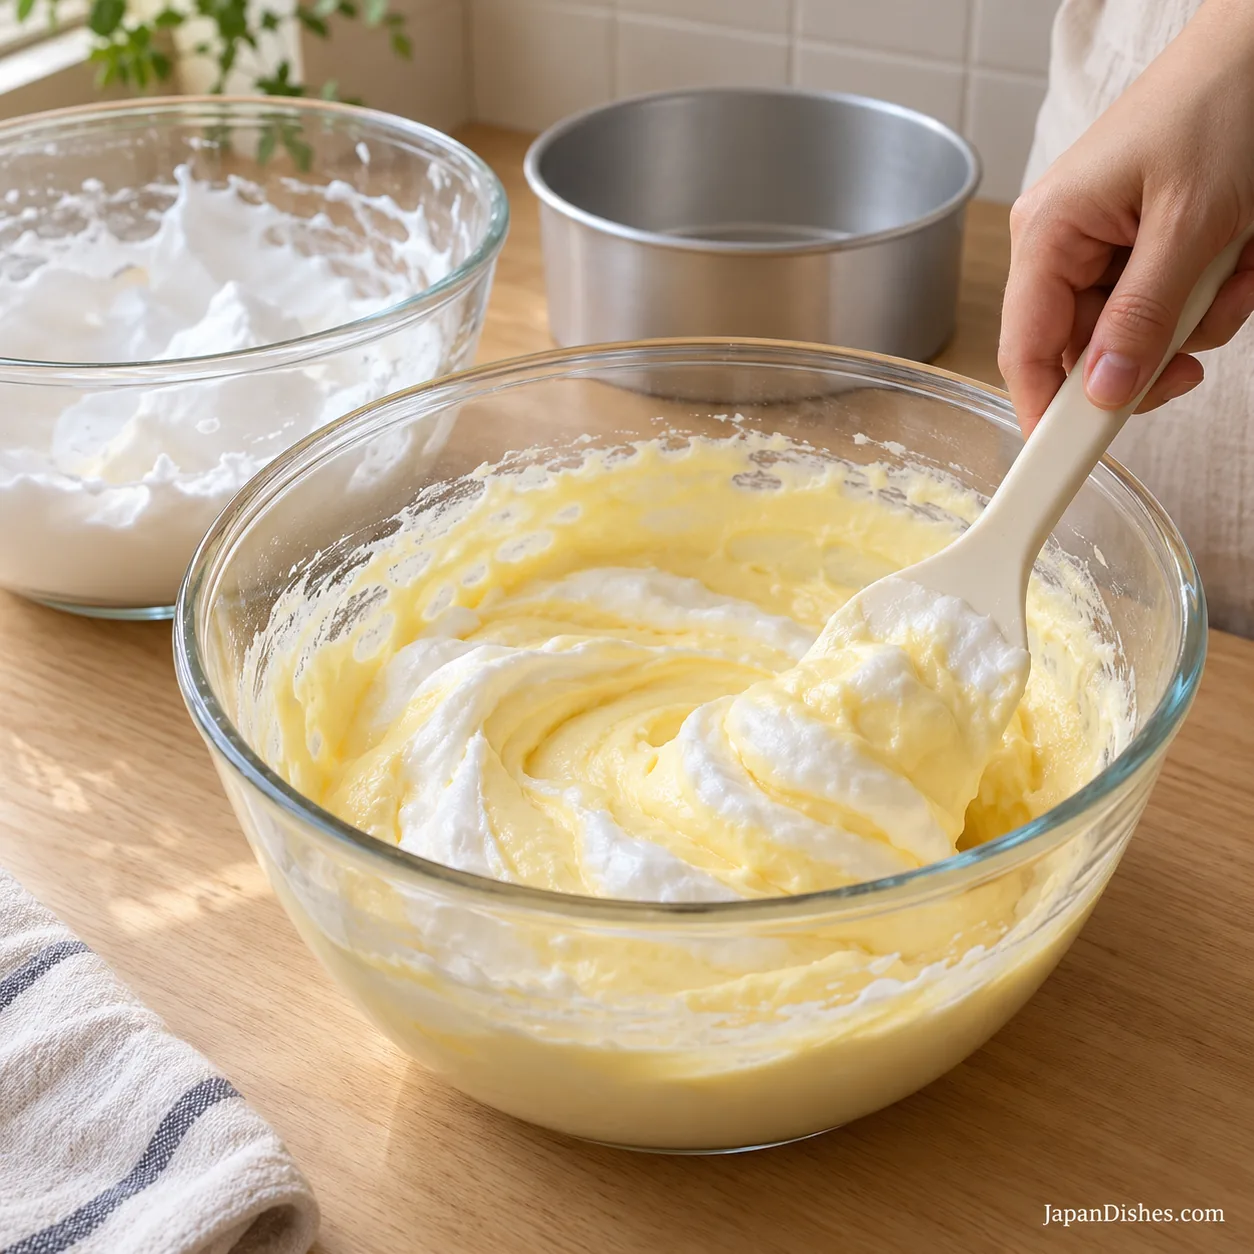
7. Fill the prepared cake tin
Pour the batter gently into the lined tin and level it lightly. Fill no higher than about two thirds of the tin itself, below its rim; bake any excess separately rather than overfilling. Pass a thin skewer through the batter in a few slow loops to release obvious large air pockets. Avoid repeatedly banging the tin on the counter or stirring the batter again.
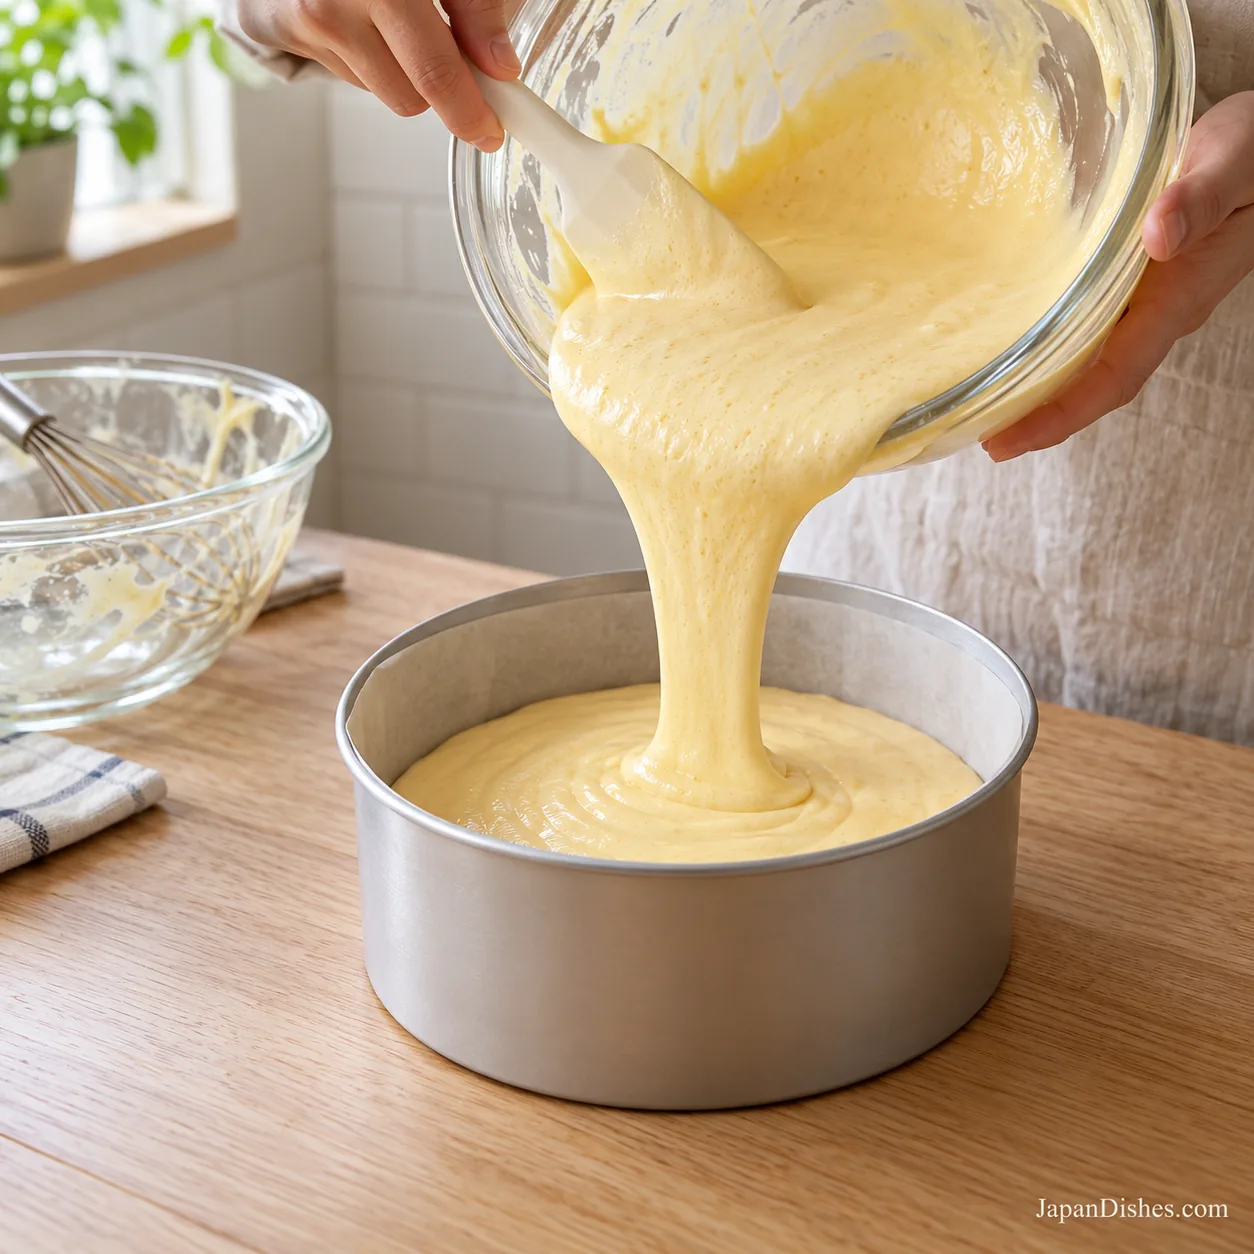
8. Add the hot water bath
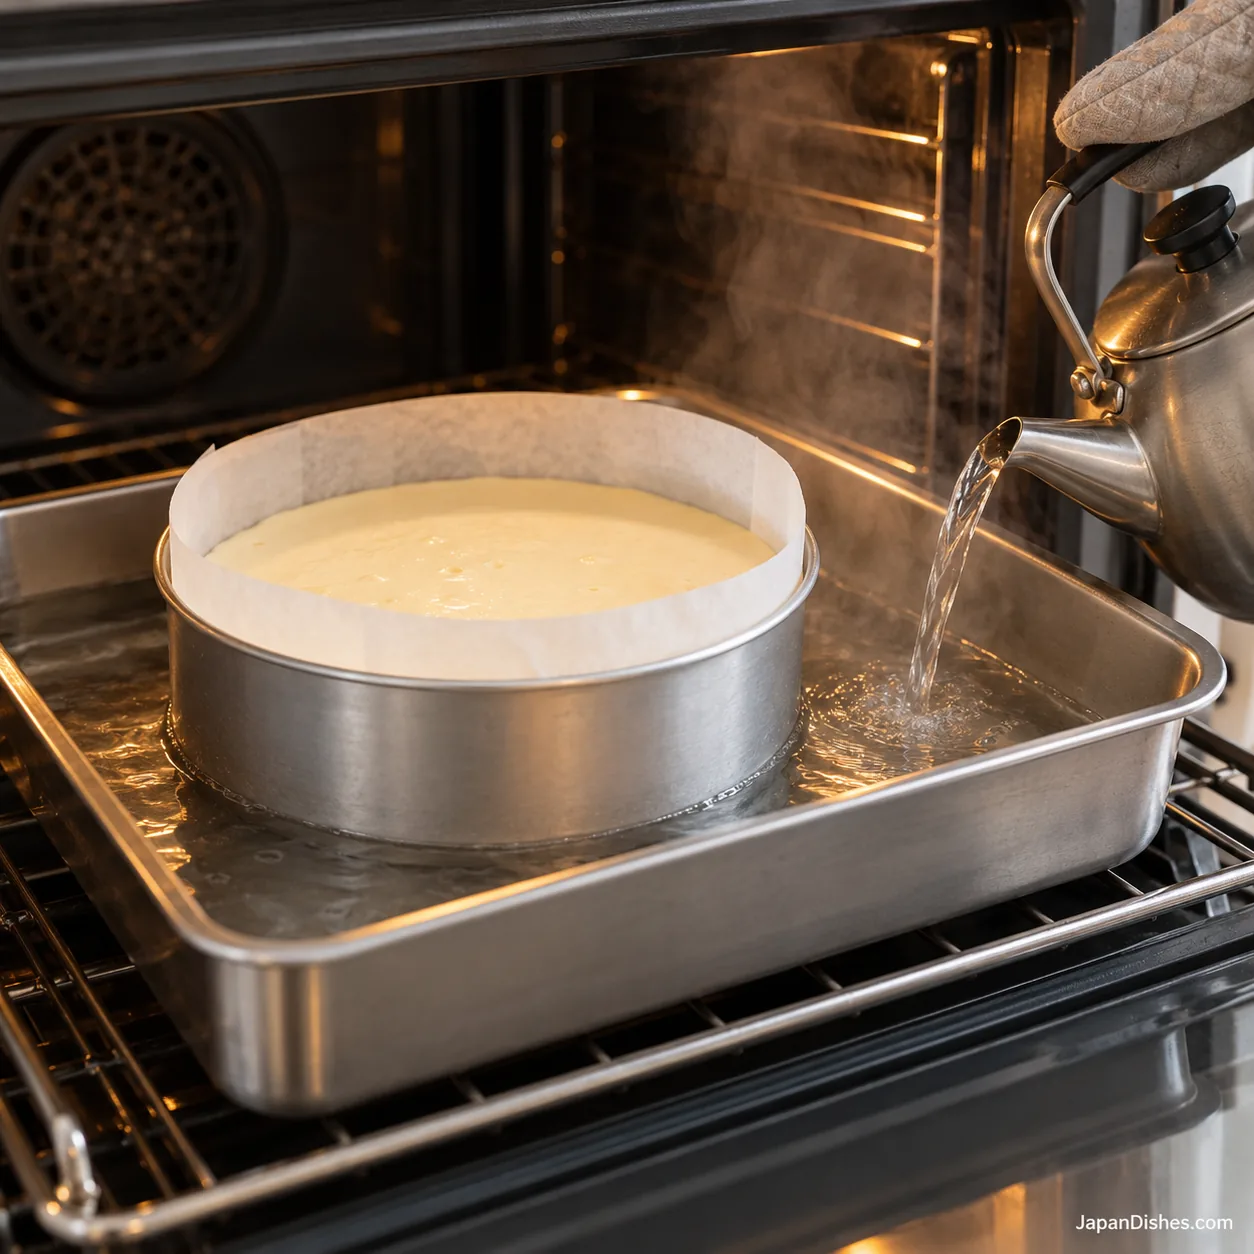
Place the filled cake tin in the roasting tray on the oven rack. Carefully pour freshly boiled water into the outer tray to a depth of about 2 cm, keeping it below the cake-tin rim and away from the batter. Slide the rack in gently and close the door. Wear oven mitts and keep your face and hands clear of escaping steam.
9. Bake gently and check the center
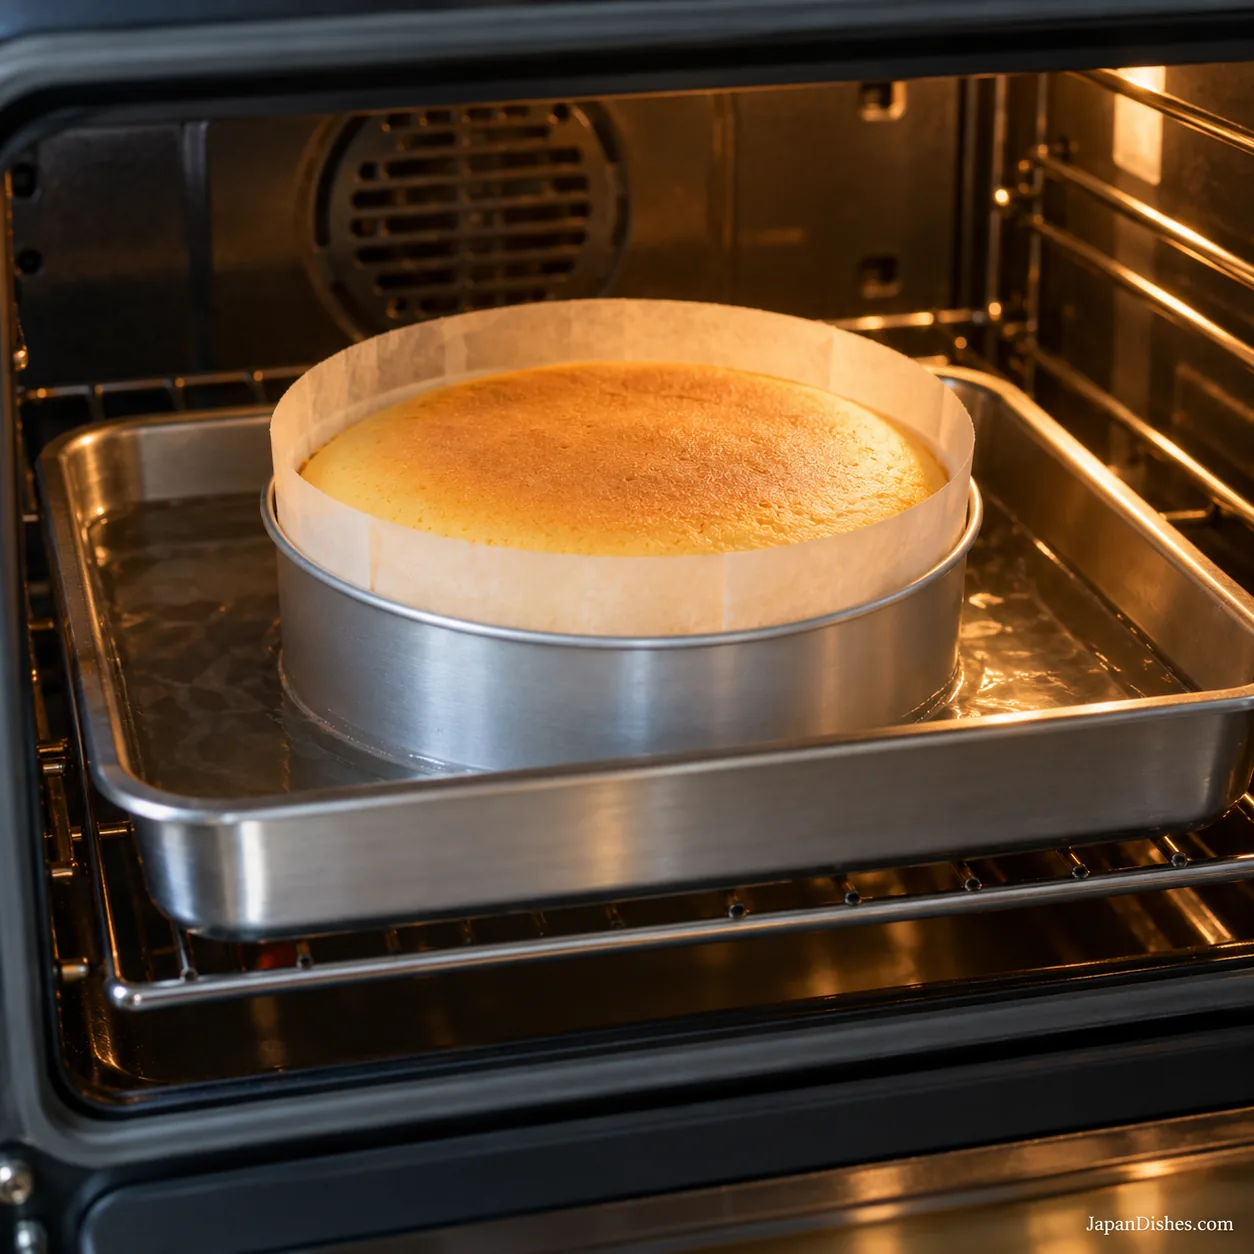
Bake at 160°C/320°F for 20 minutes. Without opening the door, reduce to 150°C/300°F and bake for another 50–60 minutes. At the end, look for a golden top, set edges and a center that trembles gently rather than rippling like liquid. A skewer into the center should come out without wet batter. If still wet, continue in 5–10-minute increments at 150°C and check again.
10. Cool gradually, unmold and chill
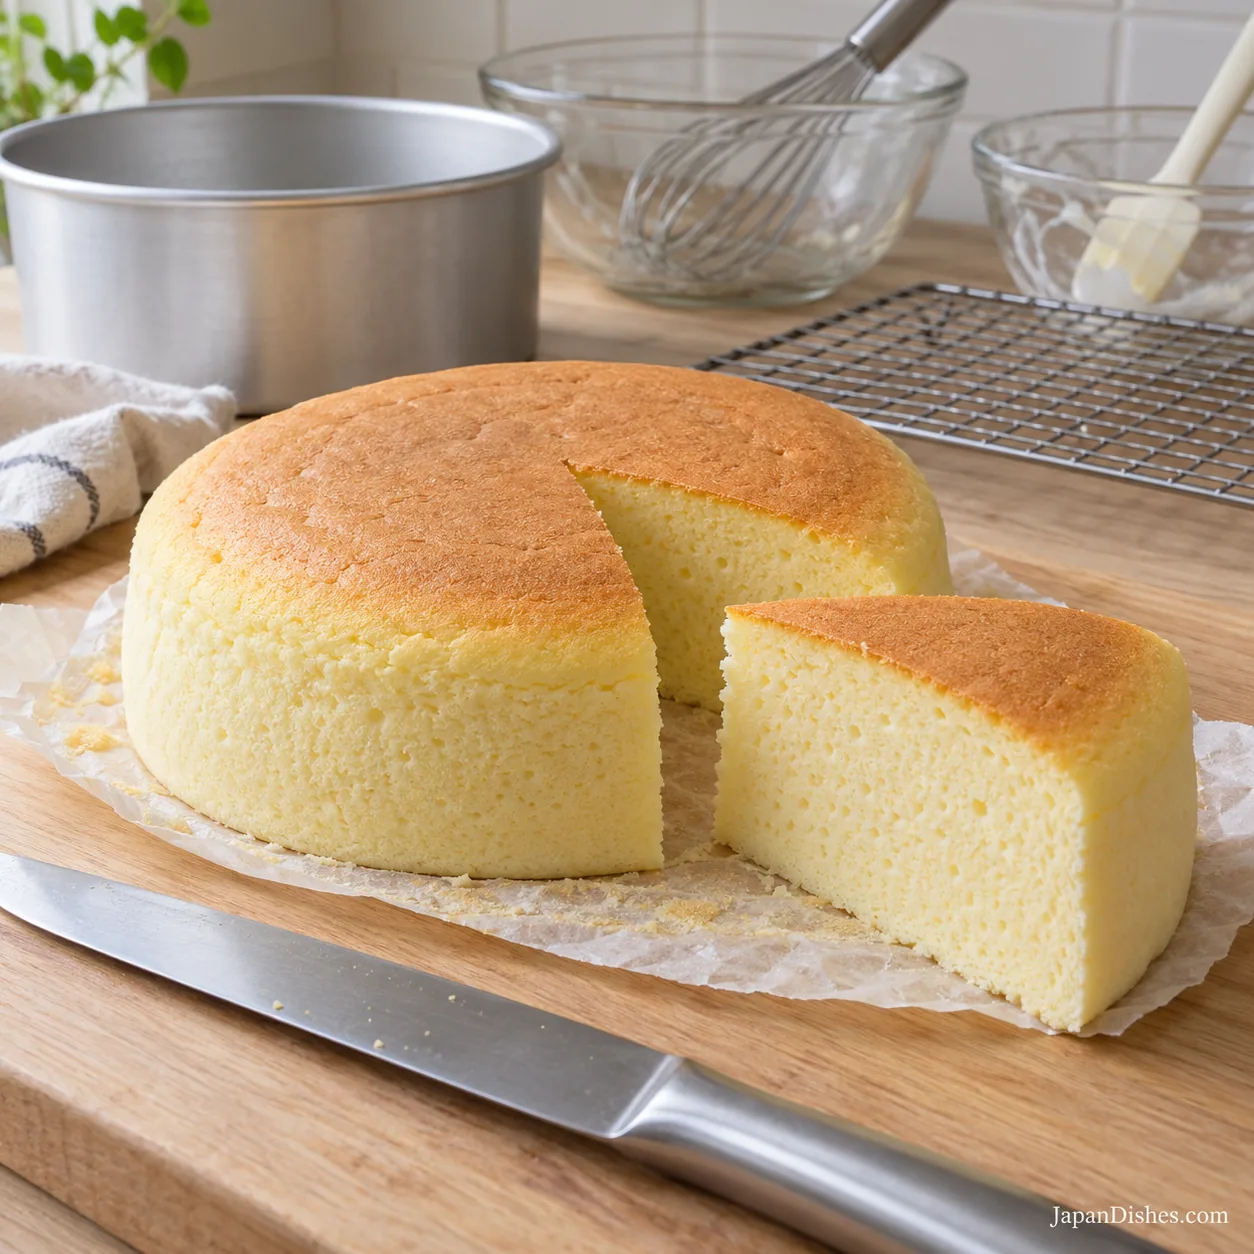
When baked through, turn off the oven and leave the cake inside with the door slightly ajar for 20 minutes. Remove the tin from the water bath and cool on a rack for about 10 minutes, until safe to handle. Loosen the parchment, gently invert onto a parchment-covered plate, remove the tin and base paper, then immediately turn upright onto a serving plate. Let it finish cooling, then refrigerate for at least 4 hours. Slice with a warm, wiped knife.
Troubleshooting your cheesecake
A cracked top
Excess heat, an overly stiff meringue or an overfilled tin can contribute. Check your oven temperature, use the lower-middle rack and stop at a glossy flexible peak. A small crack is cosmetic if the center is properly baked.
A dense or rubbery bottom
The cheese base may have settled below the foam, or too much air may have been lost. Fold across the bowl’s bottom until the batter has one color. Check doneness too: a wet bottom is different from a cooked but dense layer.
A dramatic collapse
Some shrinkage is normal. A large sunken center can point to underbaking or unstable foam. Check the center before switching off and cool gradually; longer chilling cannot cook raw batter.
A soggy base
Check the pan for leaks and keep bath water out of the batter. Condensation trapped under a covered warm cake also adds moisture. Cool first, then cover for refrigeration.
Simple variations and serving ideas
For a gentler citrus flavor, omit the zest and keep the measured juice. Serve plain first so the texture is easy to appreciate. Add fresh berries beside individual slices after chilling rather than folding fruit into the batter. Cocoa, matcha and extra liquid need formula adjustments; simply adding a spoonful is not a verified substitution.
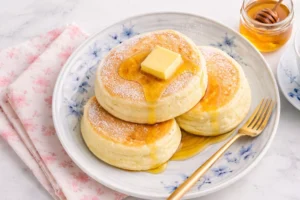
For another style of Japanese dessert, try our Matcha Basque Cheesecake or Japanese Soufflé Pancakes. Basque cheesecake has a darker top and denser center, while soufflé pancakes offer a different way to practice handling whipped whites.
Storage and making ahead
Keep the cooled cake covered in the refrigerator at 4°C/40°F or colder and use within 3 days for good texture. Return uneaten portions promptly. Refrigerate within 2 hours after baking, counting the oven rest and countertop cooling; in temperatures above 32°C/90°F, the limit is 1 hour. Do not leave the cake out overnight to cool.
For longer storage, wrap chilled slices individually and freeze for up to 1 month for quality. Thaw in the refrigerator. The crumb can become a little less delicate after freezing, so serve a freshly chilled cake when texture is the priority. For general handling rules, see the USDA food-safety guidance.
Frequently asked questions
Can I use a fan oven?
The temperatures here are for a conventional oven. Fan heat can change browning and moisture loss, so use a conventional setting if available. A fan-only oven needs its own tested temperature and timing; do not assume the same settings will behave identically.
Can I make it in a 15 cm pan?
Not with the full batter quantity. A smaller pan changes the cake depth and baking behavior. Use the specified 20 cm deep tin for this version rather than improvising the first time.
Does it need baking powder?
No. Whipped egg whites supply the lift in this formula. Baking powder or self-raising flour changes that balance and does not compensate for a collapsed meringue.
Why is it firmer after chilling?
Chilling firms the dairy and the cake’s structure. That makes cleaner slices. It will not have exactly the same warm, trembling movement after several hours in the refrigerator.
Can I prepare the batter the night before?
Prepare the tin and weigh dry ingredients ahead, but make the meringue and fold the batter shortly before baking. A filled tin of foamy batter should not wait overnight.
For a visual explanation of Japanese soufflé-cheesecake technique, see Cooking with Dog’s demonstration. Its small-pan formula differs from the quantities here; do not combine the two sets of measurements.
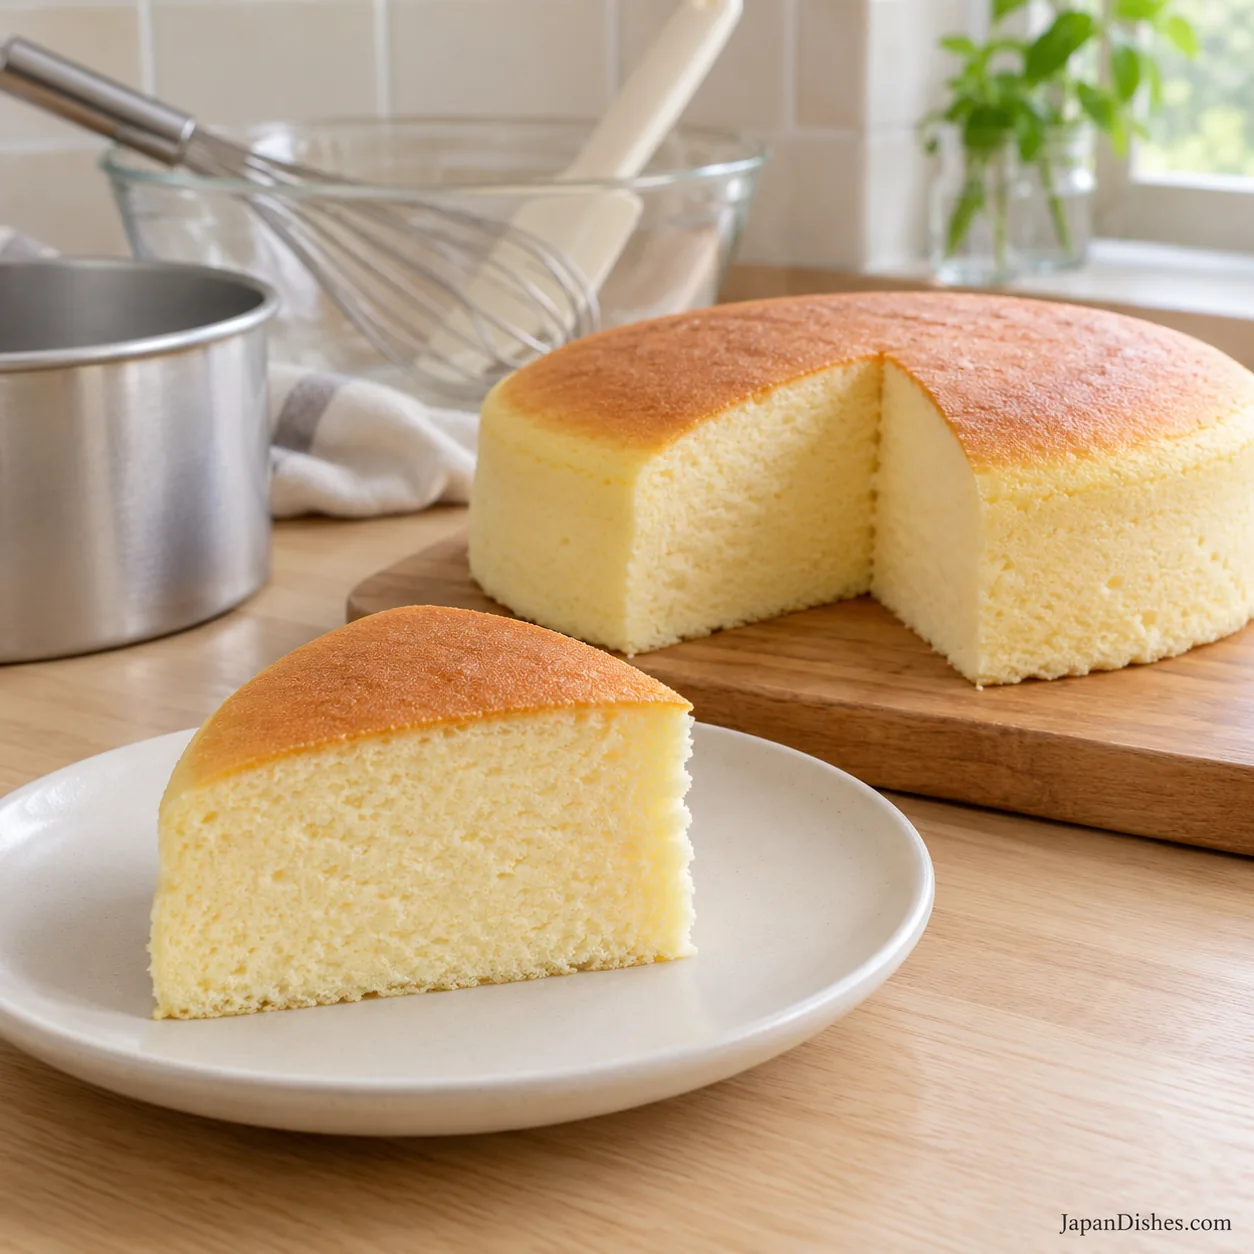
Fluffy Japanese Cotton Cheesecake スフレチーズケーキ
Course: DessertCuisine: JapaneseDifficulty: Intermediate8
slices30
minutes1
hour20
minutes6
hours50
minutesA light Japanese cotton cheesecake with cream cheese, whipped egg whites and a gentle water bath. Ten detailed stages; makes one 20 cm cake, cut into eight slices. Allow cooling and chilling time.
Ingredients
250 g full-fat block cream cheese, softened
50 g unsalted butter, plus extra for greasing
100 ml whole milk
6 large eggs, separated (about 300 g without shells)
140 g caster sugar, divided: 40 g for the base and 100 g for the whites
60 g cake flour (not self-raising)
20 g cornstarch (cornflour)
1 teaspoon vanilla extract
2 teaspoons lemon juice
1 teaspoon finely grated lemon zest
¼ teaspoon cream of tartar
⅛ teaspoon fine salt
Hot water for the water bath; not added to the batter
Directions
- Preheat a conventional oven to 160°C/320°F, with a rack in the lower-middle position; switch the fan off. Butter the 20 cm solid-bottom tin, line its base with a parchment circle and fit a buttered parchment collar about 2 cm above the rim. Set out a larger roasting tray, a kettle, a scale, two mixing bowls and an electric mixer. Separate the six eggs and measure all the ingredients before starting. Check that the roasting tray fits your oven before filling it. Leave room above the cake for its rise. Use an oven thermometer if your oven’s temperature is uncertain.

- Put the cream cheese, butter, milk and 40 g of the sugar in a heatproof bowl. Rest it over a saucepan of barely simmering water, keeping the bowl’s base above the water. Whisk gently until the cheese has no visible lumps and the butter is incorporated. Lift the bowl off the saucepan and let the mixture cool until just lukewarm, stirring occasionally. It must not be hot when the yolks go in. Keep water and steam out of the mixture. If small cheese lumps remain, smooth them now; aggressive mixing after adding the meringue would release the air needed for the rise.
- Whisk the yolks into the lukewarm base one at a time. Add the vanilla, lemon juice and zest. Sift the cake flour, cornstarch and salt over the bowl and whisk gently just until smooth. Scrape around the bowl and across its bottom. If there are stubborn lumps, pass the base through a fine sieve before proceeding; do not strain it after adding the meringue. The base should be cohesive and pourable. Avoid beating it for several minutes once the flour is wet. Set it aside while making the meringue, but do not start the whites until the base and pan are ready.
- In a completely clean, dry bowl, combine the six egg whites with the cream of tartar. Beat on medium speed until the whites are foamy throughout and no pool of clear liquid remains at the bottom. Begin adding the remaining 100 g caster sugar gradually in three or four additions, letting each addition mix in before the next. Keep the mixer moving around the bowl. A greasy bowl or a trace of yolk can interfere with the foam. Start again with clean equipment if the whites refuse to build volume; adding extra flour will not fix them.
- Continue beating at medium speed until the meringue is glossy and holds a soft-to-medium peak. Stop the motor, lift the beaters and look: the peak should stand at its base while its upper tip bends over. If it falls flat immediately, beat a little longer and check again. Stop before it becomes rigid, dry or clumpy. Use the finished meringue promptly. Follow the texture, not a fixed number of minutes: mixer power and egg temperature vary. The photograph shows the flexible tip to aim for. Do not keep beating simply to make the tallest possible peak.
- Stir one third of the meringue into the cheese base with a whisk to lighten it. Add half of the remaining meringue and switch to a spatula. Cut through the center, sweep along the bottom and lift the batter over itself, rotating the bowl. Fold in the final portion the same way. Stop once no white streaks or dense yellow pockets remain; the batter should still look airy. Reach the bottom on each pass, where the heavier cheese mixture tends to collect. Some white ribbons in this process photo show an intermediate stage; they should disappear before you pour.
- Pour the batter gently into the lined tin and level it lightly. Fill no higher than about two thirds of the tin itself, below its rim; bake any excess separately rather than overfilling. Pass a thin skewer through the batter in a few slow loops to release obvious large air pockets. Avoid repeatedly banging the tin on the counter or stirring the batter again. Check the surface for large trapped bubbles, not every tiny bubble. Fine air bubbles are part of the structure you have just created. Move to the water bath without letting the filled tin stand for a long time.
- Place the filled cake tin in the roasting tray on the oven rack. Carefully pour freshly boiled water into the outer tray to a depth of about 2 cm, keeping it below the cake-tin rim and away from the batter. Slide the rack in gently and close the door. Wear oven mitts and keep your face and hands clear of escaping steam. The water belongs around the tin, never inside it. Filling the outer tray on the rack avoids carrying a heavy, sloshing pan across the kitchen. This recipe uses a seamless tin, so foil waterproofing is not needed.
- Bake at 160°C/320°F for 20 minutes. Without opening the door, reduce to 150°C/300°F and bake for another 50–60 minutes. At the end, look for a golden top, set edges and a center that trembles gently rather than rippling like liquid. A skewer into the center should come out without wet batter. If still wet, continue in 5–10-minute increments at 150°C and check again. The normal bake is 70–80 minutes, but the doneness cues take priority. Avoid opening the oven during the early rise. If the top darkens too quickly late in baking, cover it loosely with foil without pressing on the surface.
- When baked through, turn off the oven and leave the cake inside with the door slightly ajar for 20 minutes. Remove the tin from the water bath and cool on a rack for about 10 minutes, until safe to handle. Loosen the parchment, gently invert onto a parchment-covered plate, remove the tin and base paper, then immediately turn upright onto a serving plate. Let it finish cooling, then refrigerate for at least 4 hours. Slice with a warm, wiped knife. Allow about 1 hour total for oven rest and cooling before refrigeration; do not leave this dairy-and-egg cake at room temperature for more than 2 hours after baking. Some settling is expected. If the cake is too fragile to unmold warm, cool it in its tin and handle it gently once firmer.
Notes
- Use a 20 cm solid-bottom tin at least 8 cm deep and conventional heat, no fan. Prep 30 min; bake 70–80 min; cool about 60 min including the 20 min oven rest; chill at least 240 min. Total estimate uses 80 min baking: 410 min. Contains milk, eggs and wheat. Refrigerate promptly at 4°C/40°F or below; use within 3 days for quality.