
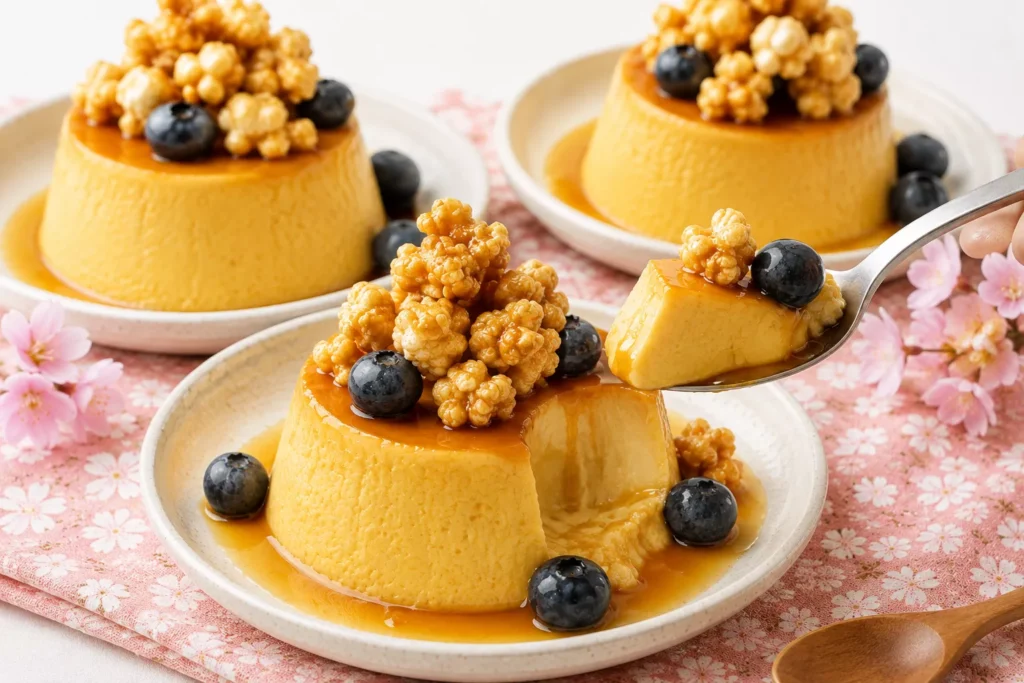
Have you ever imagined turning fresh sweet corn into a smooth, chilled flan without using a single egg? Cold corn and salted rice malt flan “とうもろこしと塩麹の冷製フラン” is a light and creamy dish that combines the natural sweetness of corn with the gentle savory flavor of salted rice malt. It is cool, soft, and refreshing, making it especially enjoyable during warm weather.
Unlike a traditional flan, this recipe does not depend on eggs or baking. Soy milk creates the creamy base, while gelatin helps the mixture become soft and spoonable after chilling. Fresh corn adds sweetness, color, and texture. A small drizzle of olive oil and a touch of black pepper at the end give the dish a simple but elegant finish.
This recipe is easy to prepare and can be made several hours before serving. It works well as a light appetizer, a small side dish, or even a refreshing savory snack.
Cold Corn and Salted Rice Malt Flan Recipe Overview
This Cold corn and salted rice malt flan is special because it brings together simple ingredients in an unexpected way. Sweet corn is often served grilled, boiled, or mixed into soup, but here it becomes the main flavor of a silky chilled flan.
The combination of corn and soy milk gives the flan a naturally creamy texture without dairy cream. Salted rice malt, also known as shio koji, adds a mild salty and fermented flavor that makes the sweetness of the corn stand out.
Most of the total time comes from chilling. The active preparation is quite short, so this is a useful recipe when you want something that looks special without spending a long time in the kitchen.
What Is Cold Corn and Salted Rice Malt Flan ?
Cold corn and salted rice malt flan is a chilled corn-based dish made from fresh corn, soy milk, salted rice malt, and gelatin.
Although it is called flan, it is different from the classic caramel custard made with eggs and milk. This version is closer to a delicate savory pudding. Gelatin gives it structure instead of eggs, while blended corn creates a rich and naturally sweet base.
The salted rice malt adds an important layer of flavor. It does not make the dish strongly salty when used carefully. Instead, it balances the corn and gives the flan a deeper savory taste.
Some corn kernels are also kept whole. They sit inside the cups and can be added on top before serving, giving each spoonful a pleasant contrast between smooth flan and juicy corn.
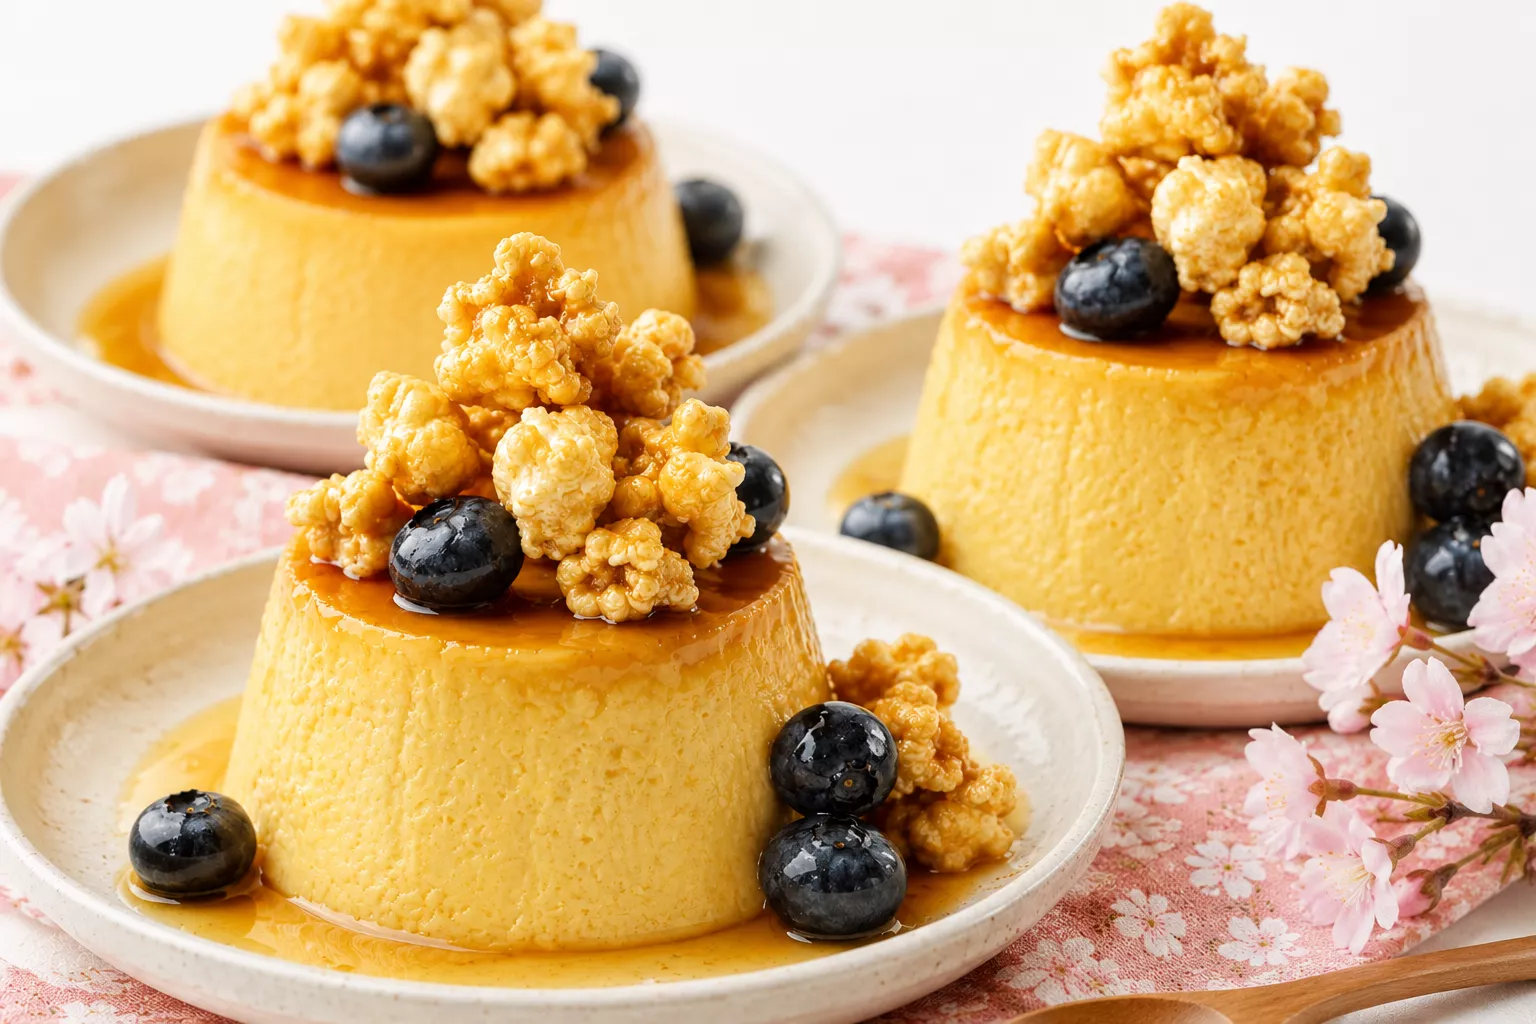
Essential Ingredients
Key Ingredients (材料)
Cold Corn and Salted Rice Malt Flan [Egg-Free]These simple ingredients create a smooth, lightly sweet, and savory chilled corn flan. Fresh corn gives natural sweetness, soy milk makes the base creamy, and salted rice malt adds gentle depth without the need for eggs.
How to Make Cold Corn and Salted Rice Malt Flan
Step 1: Prepare the Gelatin and Corn
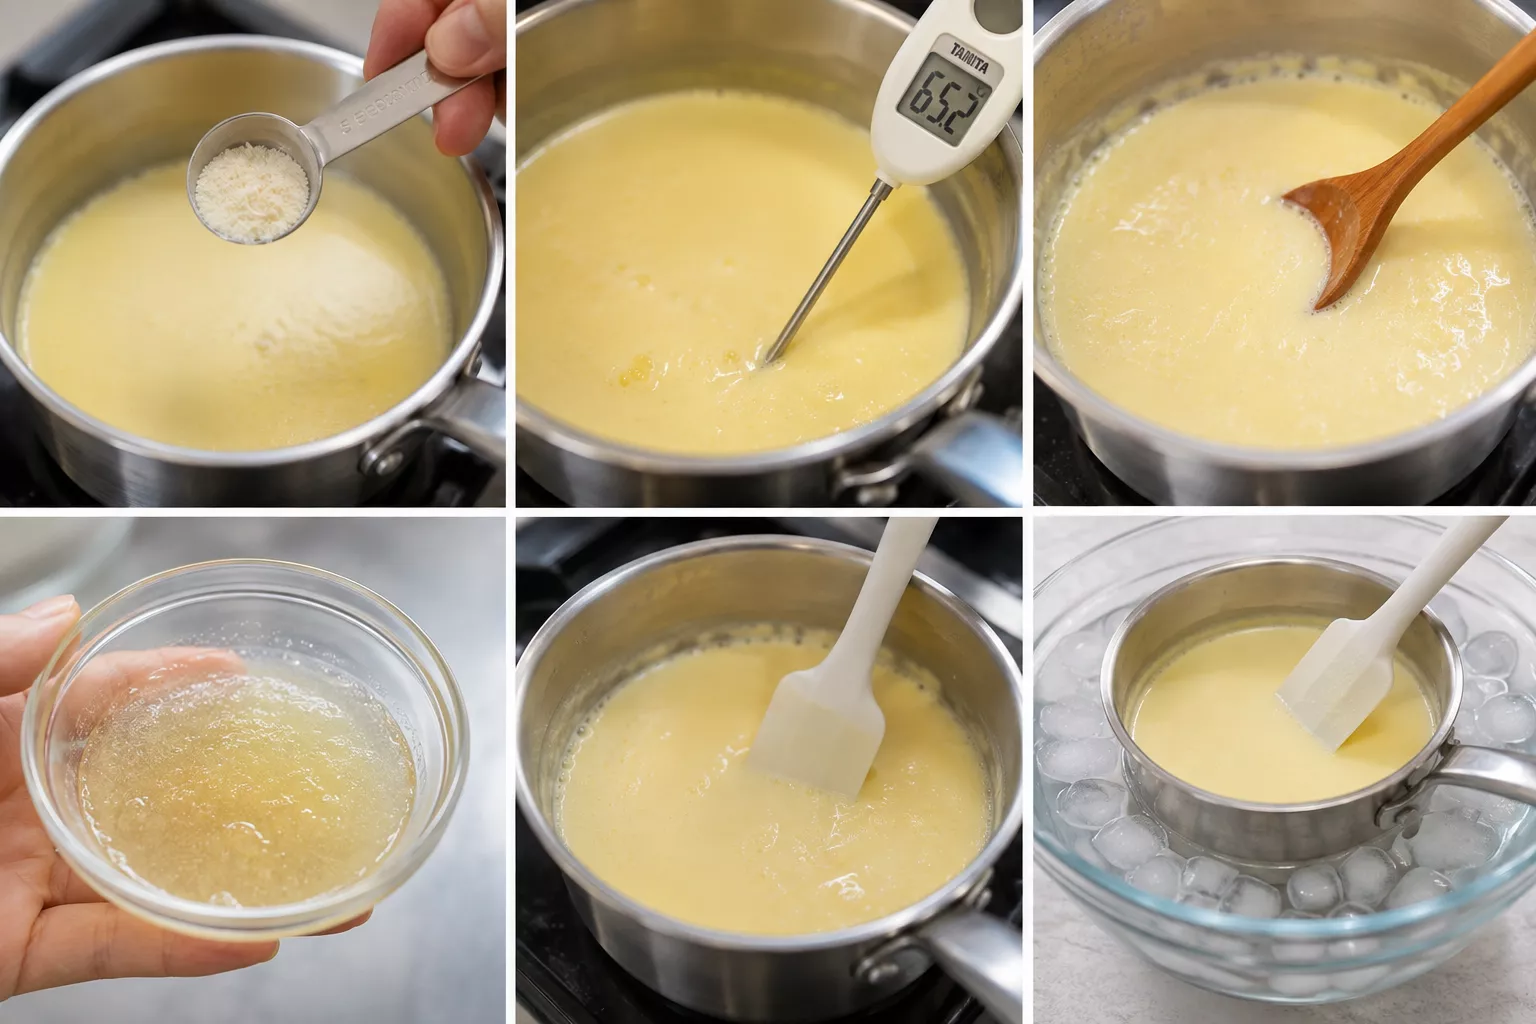
- Place 1 1/2 tablespoons of water in a small bowl. Sprinkle the 5 g powdered gelatin evenly over the water and leave it to soften.
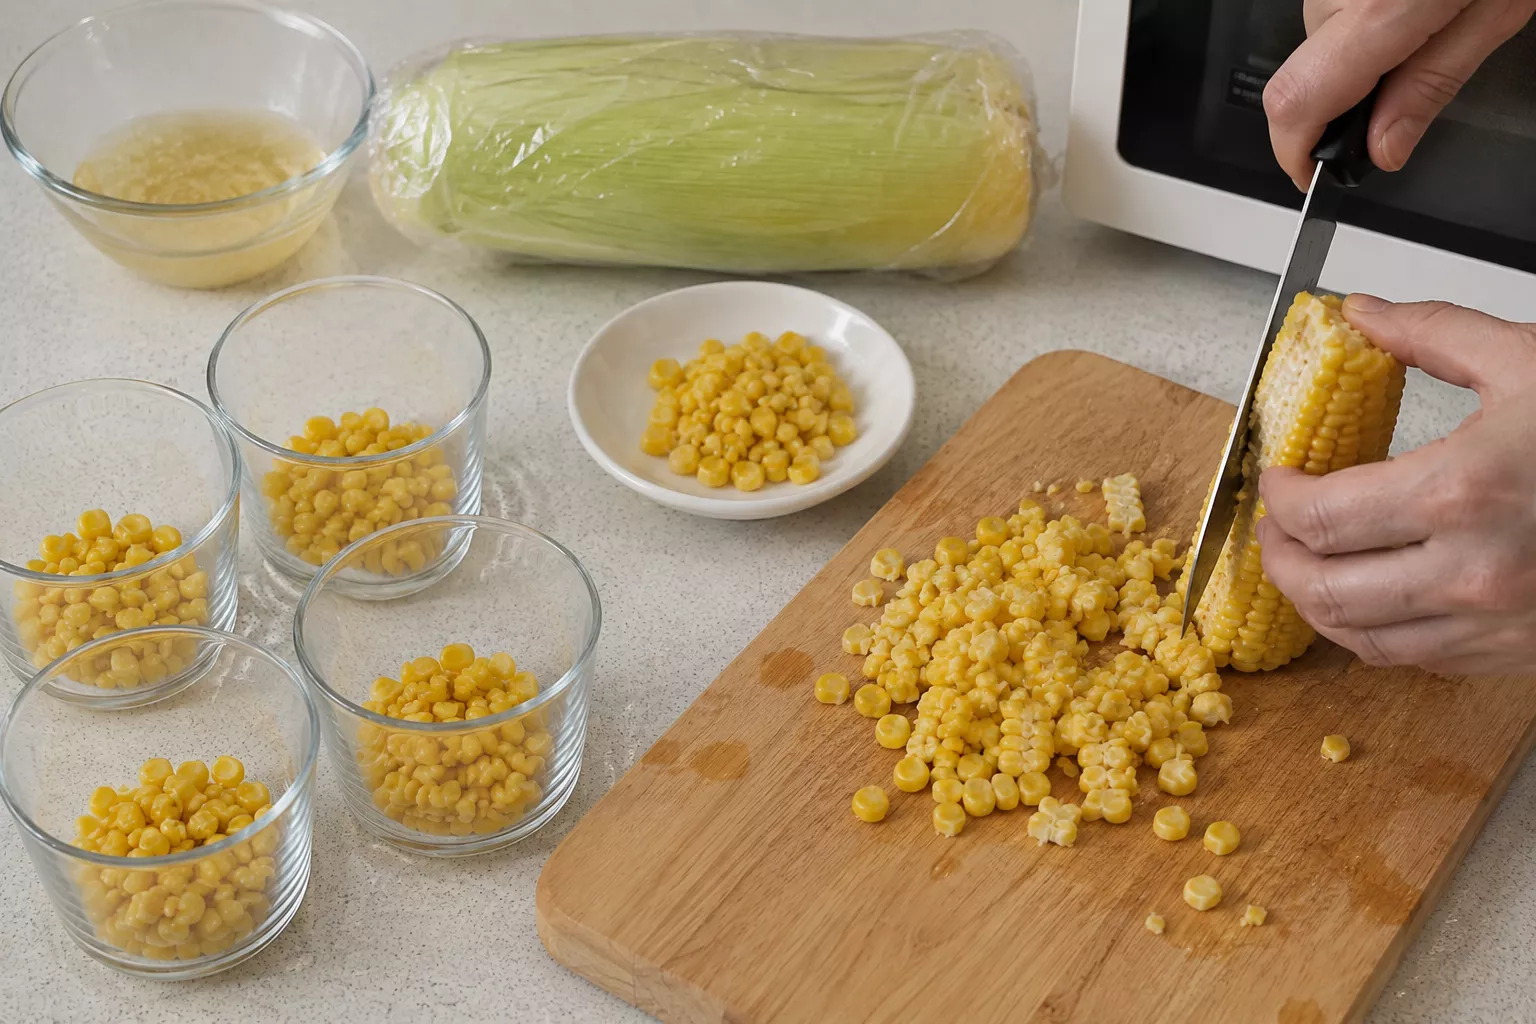
- Prepare the corn by leaving two or three layers of husk around the ear. Wrap it securely in microwave-safe plastic wrap.
- Microwave at 600W for about 3 to 3 1/2 minutes, or until the kernels are tender.
- Allow the corn to cool enough to handle safely.
- Cut the ear in half if this makes it easier to work with. Hold the corn securely on a cutting board and carefully slice downward with a knife to remove the kernels.
- Reserve around 3 tablespoons of kernels for the final garnish.
- Divide some of the remaining whole kernels between four serving cups. The rest will be blended into the creamy corn base.
Step 2: Make the Smooth Corn and Soy Milk Base
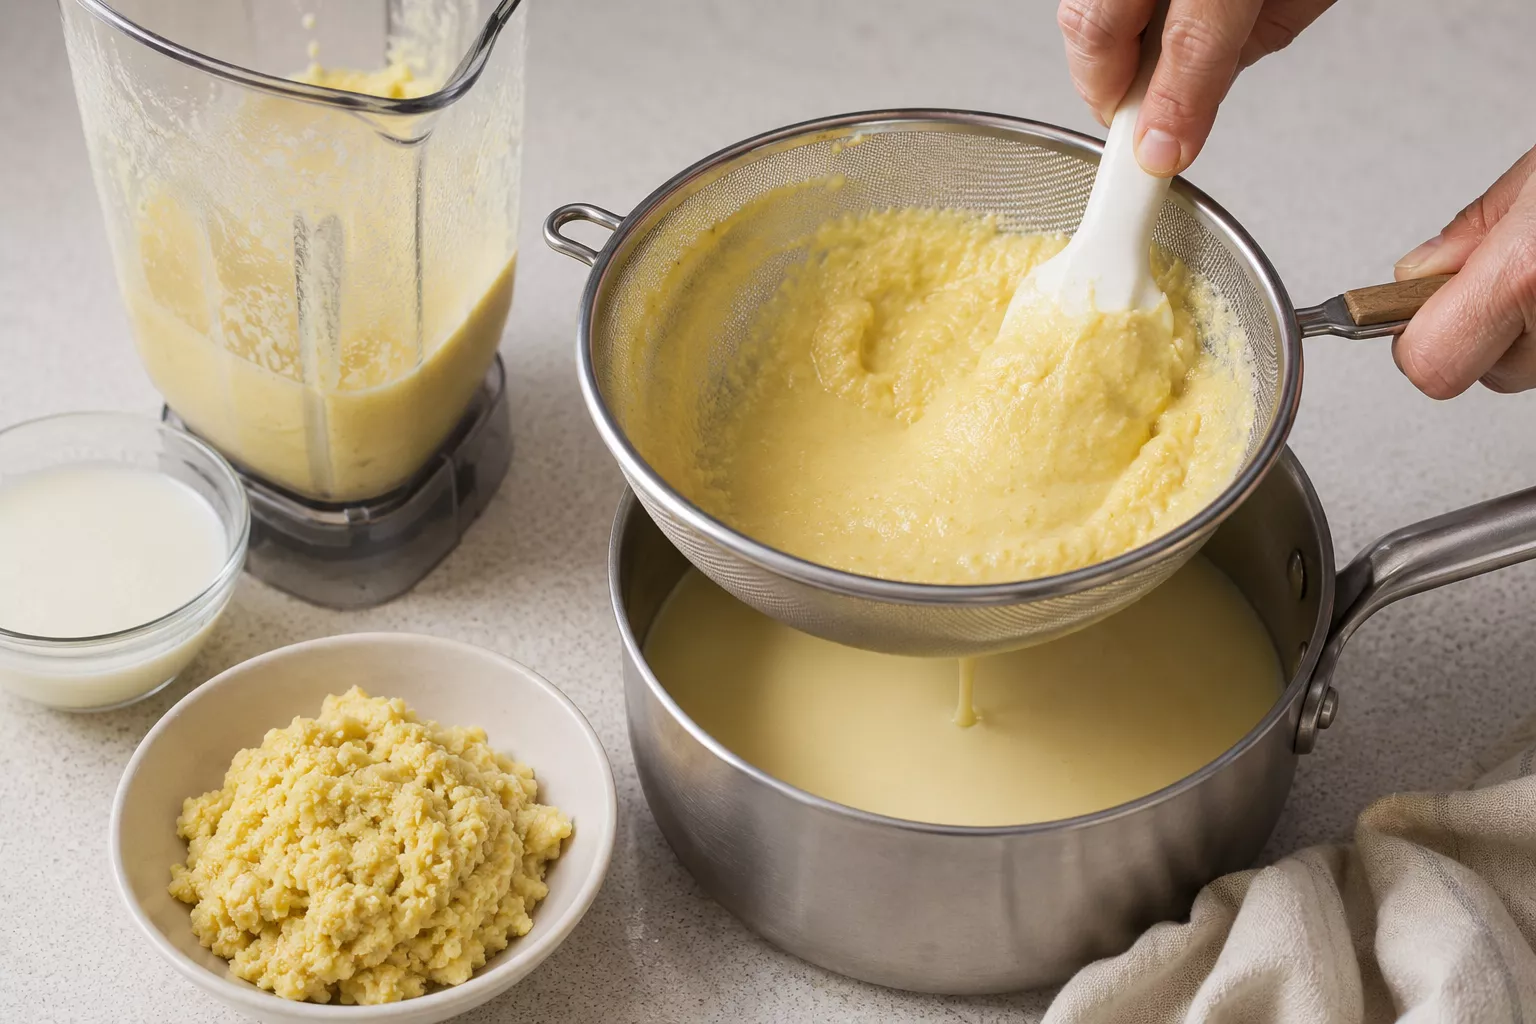
- Place the corn that you want to blend into a blender or food processor.
- Add about 100 ml of the unsweetened soy milk.
- Blend until the mixture becomes as smooth as possible.
- For a soft and elegant flan, pour the blended mixture through a fine-mesh strainer into a small saucepan. Press gently with a spoon or spatula to help the liquid pass through.
- Discard the tough corn solids left behind.
- Add the remaining soy milk to the strained corn mixture and stir.
- Straining is worth the extra minute because corn skins can create a rough texture. Removing them gives the finished flan a much smoother mouthfeel.
Step 3: Season, Heat, and Cool the Flan Mixture
- Add 1 teaspoon of salted rice malt to the saucepan.
- Warm everything slowly over low heat.
- Do not bring the mixture to a full boil. Heat it gently until it reaches approximately 60–70°C.
- Taste carefully and decide whether you want to add the remaining 1/2 teaspoon of salted rice malt.
- Turn off the heat.
- Add the softened gelatin and stir until no visible pieces remain.
- Prepare a larger bowl with cold water and ice. Place the bottom of the saucepan into the ice bath without allowing water to enter the corn mixture.
- Stir gently while the mixture cools.
- Continue until it begins to feel slightly thicker.
- Cooling the mixture before pouring it into the cups can help keep the texture even and prevent the corn from separating too much while the flan sets.
Step 4: Fill, Chill, and Finish
- Pour the corn mixture evenly into the four prepared cups.
- Place them carefully in the refrigerator.
- Chill for at least 2 hours, or until the flans are softly set.
- When ready to serve, place some of the reserved corn kernels on top of each cup.
- Drizzle with a very small amount of olive oil.
- Finish with freshly ground black pepper if desired.
- Serve the Cold corn and salted rice malt flan [Egg-free] chilled.
![Cold corn and salted rice malt flan [Egg-free]](https://www.japandishes.com/wp-content/uploads/2026/08/Cold-corn-and-salted-rice-malt-flan-Egg-free.webp "Cold corn and salted rice malt flan [Egg-free]")
Secrets to Success and Expert Tips
These simple tips will help you make smooth, creamy, and refreshing Cold Corn and Salted Rice Malt Flan [Egg-Free] with the best texture and balanced flavor:
-
♥
Use sweet, fresh corn
Fresh corn gives the flan its best natural sweetness, bright color, and gentle flavor. Choose ears with plump, juicy kernels whenever possible. -
♥
Strain the blended corn mixture
Passing the blended corn and soy milk through a fine-mesh sieve removes tough pieces of corn skin and helps create a silky, smooth flan. -
♥
Heat gently and never let it boil
Warm the corn and soy milk mixture slowly over low heat. Keeping it below a full boil helps protect the delicate flavor and smooth texture. -
♥
Add salted rice malt little by little
Salt levels can vary between brands of salted rice malt. Start with 1 teaspoon, taste the mixture, and add up to another 1/2 teaspoon only if needed. -
♥
Bloom the gelatin properly
Sprinkle the gelatin evenly over the water and let it soften before adding it to the warm mixture. This helps it dissolve smoothly without forming lumps. -
♥
Cool slightly before filling the cups
Stir the mixture over an ice bath until it begins to thicken lightly. This helps keep the corn evenly distributed and gives the finished flan a more consistent texture.
Assembly and Presentation
- The presentation of this recipe can be very simple.
- Start by placing several whole corn kernels in the bottom of each serving cup. Pour the cooled corn mixture over them and refrigerate until set.
- Before serving, scatter the reserved corn kernels over the surface.
- Add only a small drizzle of olive oil. Too much oil can cover the mild flavor of the corn.
- Finish with a little black pepper.
- Clear glass cups are especially attractive because they allow you to see the pale yellow corn mixture and kernels inside.
- Small ceramic cups or ramekins also work well if you prefer a more traditional presentation.
- Serve the flan directly from the cup instead of trying to turn it onto a plate. The texture is meant to be soft and delicate.
Hana’s Recipe Tips
For the sweetest flavor, make this recipe when fresh corn is in season. Good corn needs very little extra seasoning because its natural sweetness does most of the work.
Taste the corn before adding all the salted rice malt. If the corn is very sweet, a slightly stronger savory note may taste good. If it has a mild flavor, keep the seasoning gentle.
Another helpful trick is to save the prettiest whole kernels for the top. A small amount of garnish can make the finished cups look much more inviting without adding extra work.
Finally, keep the decoration simple. Corn, olive oil, and pepper already create enough contrast. Adding too many toppings may hide the clean flavor that makes this recipe special.
Storage and Make-Ahead Tips
This flan is a very convenient make-ahead recipe because it needs time in the refrigerator anyway.
Cover the cups once the flan has set and keep them refrigerated.
For the best taste and texture, enjoy them within 1 to 2 days.
Keep the olive oil, pepper, and final corn garnish separate until you are ready to serve. This keeps the top looking fresh.
Do not reheat the finished flan. Heat can soften or melt the gelatin and destroy the chilled texture.
Freezing is also not recommended because the texture may become watery or uneven after thawing.
Recipe Variations
Cold Corn and Salted Rice Malt Flan [Egg-Free] is easy to customize. You can change the texture, adjust the toppings, or add gentle flavors while keeping the same smooth and refreshing corn base.
Add Extra Corn
Add more whole corn kernels if you prefer extra sweetness and texture:
- Add extra kernels to the bottom of each cup
- Scatter fresh corn over the top before serving
- Blend in slightly more corn for a stronger corn flavor
Make It Extra Silky
For an especially smooth flan, focus on creating a fine and creamy texture:
- Blend the corn mixture until completely smooth
- Strain it twice through a fine-mesh sieve
- Leave out the whole corn kernels inside the cups
Add a Fresh Herb Garnish
A small amount of fresh herbs can add color and a gentle fresh flavor:
- Finely sliced chives for a mild onion note
- Fresh parsley for a clean finish
- Shiso leaves for a Japanese-style herbal flavor
Try Different Finishing Flavors
Small changes to the topping can give the chilled flan a different character:
- Add extra freshly ground black pepper for gentle warmth
- Use a few drops of flavorful extra-virgin olive oil
- Sprinkle a small amount of toasted sesame seeds for a nutty finish
Why You May Enjoy This Recipe
Corn provides carbohydrates along with some fiber and naturally occurring vitamins and minerals. Soy milk adds plant-based protein, although the amount can vary depending on the brand.
Because the dish does not rely on heavy cream, it has a lighter style than many traditional creamy custards.
The recipe is also useful for people avoiding eggs. However, always check every packaged ingredient if cooking for someone with a food allergy.
Salted rice malt should be used in moderation because it contains salt, and the exact sodium level depends on the product.
Variation Recipes to Try
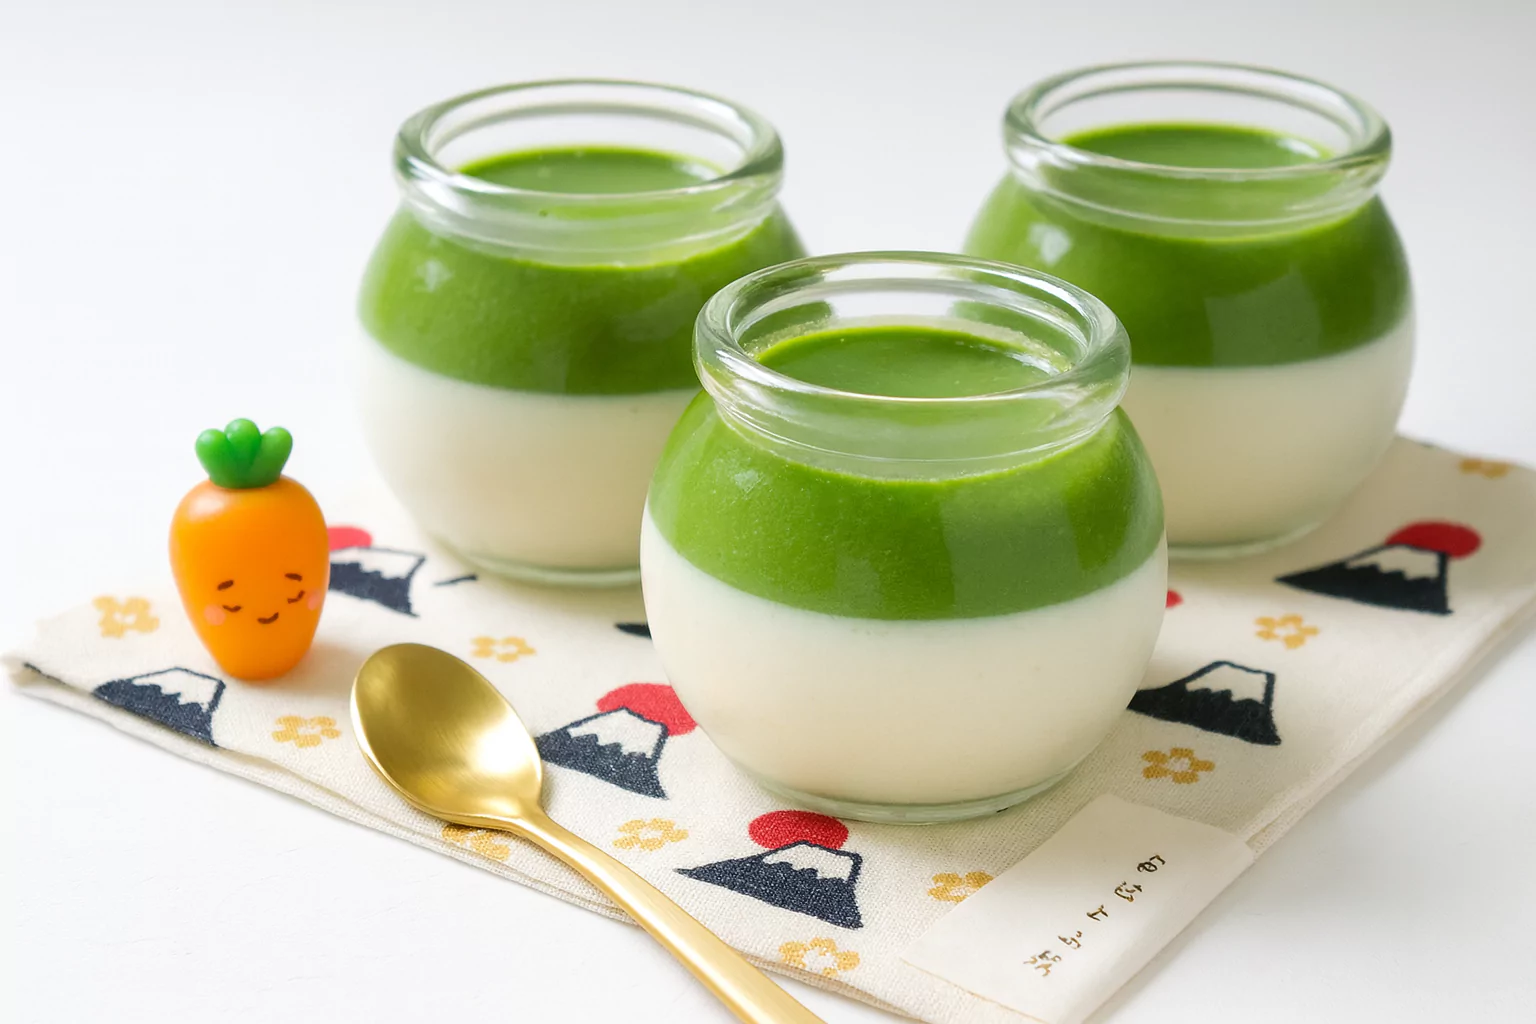
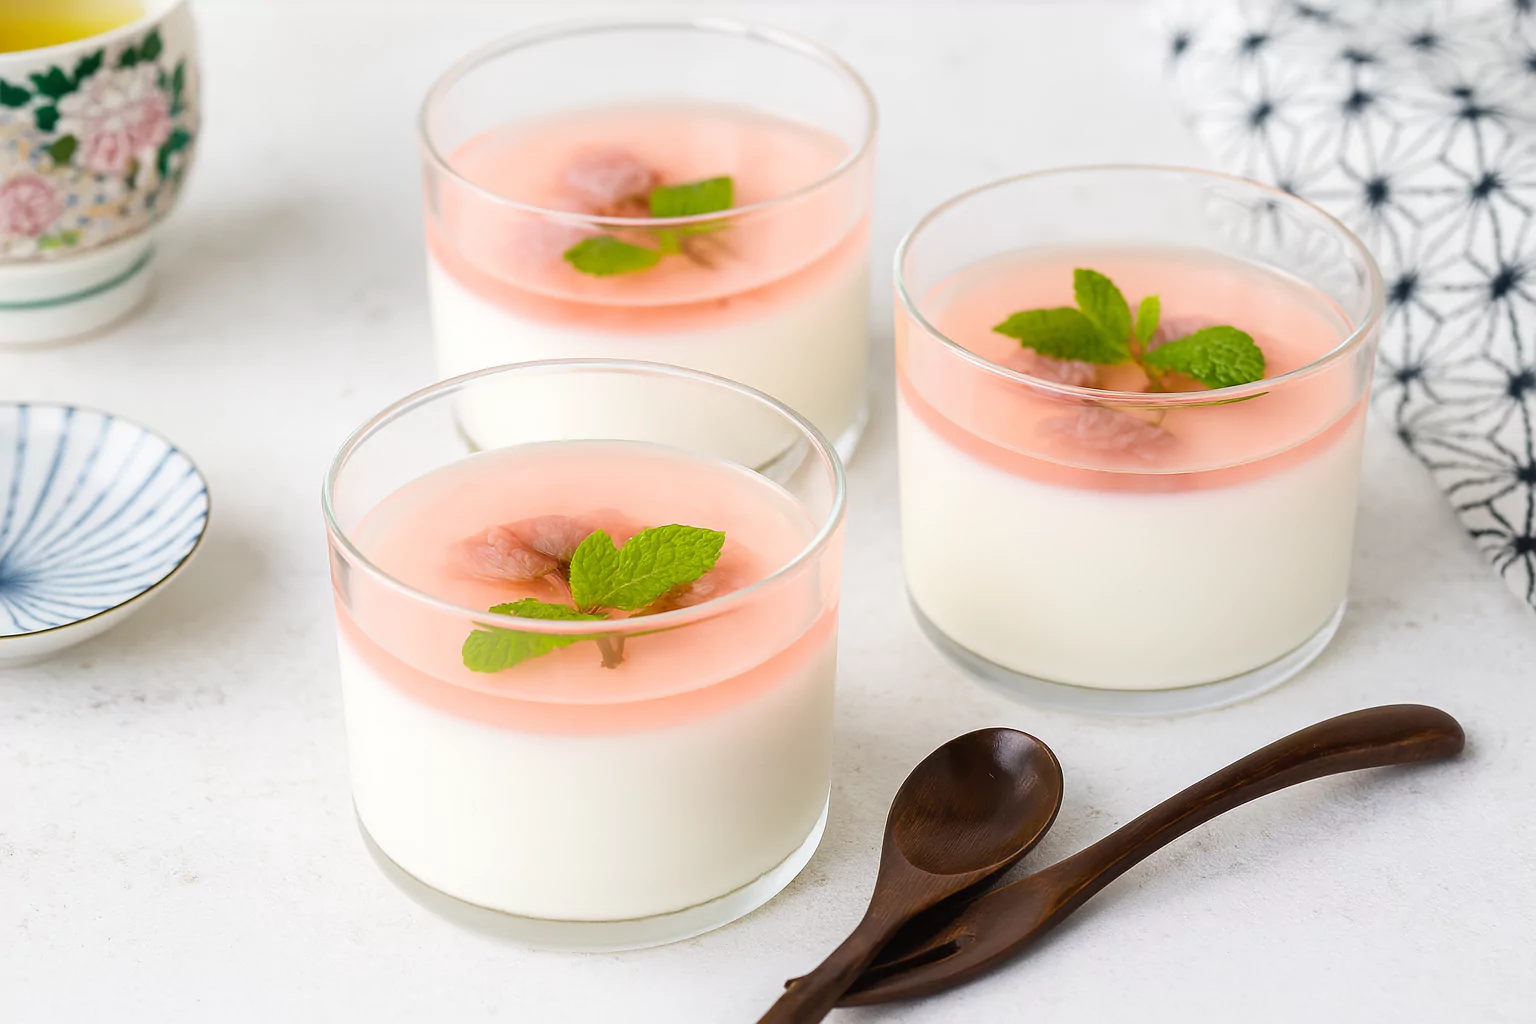
If you enjoy the smooth and refreshing texture of Cold Corn and Salted Rice Malt Flan [Egg-Free], you may also want to try two other Japanese-style puddings. Rich Two-Layer Matcha Pudding 濃厚な二層抹茶プリン has beautiful layers and a deep matcha flavor that is perfect for green tea lovers. For something lighter and more delicate, try Cherry Blossom Milk Pudding 桜ミルクプリン , a creamy dessert with a gentle sakura-inspired taste and an elegant Japanese look. Both recipes are great choices when you want to explore more chilled Japanese desserts.
Frequently Asked Questions
Is Cold Corn and Salted Rice Malt Flan [Egg-Free] really egg-free?
Yes. This recipe does not require eggs. The mixture is set using gelatin instead.
Check the labels of packaged ingredients when preparing food for someone with a serious egg allergy.
Is this recipe vegan?
No. Standard gelatin is animal-derived.
The soy milk portion is plant-based, but the gelatin means the complete recipe is not vegan.
Why does the gelatin need to soak first?
Allowing gelatin to absorb water before heating helps it dissolve evenly.
If dry gelatin is added directly to the corn mixture, small lumps may remain.
Can I use canned corn?
Fresh corn gives the best flavor, but drained canned corn can be tested when fresh corn is unavailable.
Because canned corn may contain added salt or sugar, taste the mixture carefully before adding all the salted rice malt.
Can I use frozen corn?
Yes. Cook and drain the frozen corn first, then use it in place of fresh kernels.
The flavor may be slightly different, but it is a practical substitute.
Why should I strain the blended corn?
Corn skins do not always become completely smooth in a blender.
Straining removes the tougher pieces and creates a silkier flan.
Why should the mixture not boil?
The ingredients only need gentle heat. Bringing everything to a strong boil is unnecessary.
Low heat gives you more control and helps preserve the mild taste of the soy milk and corn.
How long does the flan need to chill?
Allow at least 2 hours in the refrigerator.
If possible, prepare it earlier in the day and give it several hours to become fully chilled.
Can I prepare it the night before?
Yes. This is a good make-ahead dish.
Prepare and chill the flan the day before, cover the cups, and add the olive oil, pepper, and garnish shortly before serving.
How long does it keep?
For the best quality, keep the flan covered in the refrigerator and eat it within 1 to 2 days.
Should Cold Corn and Salted Rice Malt Flan be served warm?
No. This recipe is designed to be served cold.
Heating it after it has set can melt the gelatin and change the texture.
What does salted rice malt taste like?
Salted rice malt has a mild salty and fermented flavor. It can add depth to foods without requiring many additional seasonings.
Its saltiness varies from brand to brand, which is why adding it gradually is important.
Can I leave out the olive oil?
Yes.
The olive oil is only a finishing touch. The flan will still work without it.
What can I serve with this flan?
It can be served as a light appetizer before a summer meal, as a small side dish, or as part of a chilled lunch.
Its mild flavor works especially well when the rest of the meal is fresh and simple.
Conclusion
Cold corn and salted rice malt flan [Egg-free] is an easy way to turn fresh corn into something smooth, refreshing, and a little unexpected.
Sweet corn provides the main flavor, soy milk makes the base creamy, salted rice malt adds savory depth, and gelatin creates a delicate chilled texture without the need for eggs. Most of the preparation takes only a few minutes, while the refrigerator does the rest of the work.
Remember to heat the soy milk mixture gently, bloom the gelatin properly, and add the salted rice malt little by little. Straining the blended corn also makes a big difference when you want an especially smooth finish.
Once you understand the basic method, you can adjust the amount of whole corn, change the garnish, or make smaller portions for appetizers.
Serve it well chilled with fresh corn kernels, a light drizzle of olive oil, and a little black pepper for a simple dish that highlights the naturally sweet flavor of corn.

How to make Cold Corn and Salted Rice Malt Flan
Course: AppetizersCuisine: JapaneseDifficulty: Easy4
servings15
minutes10
minutes70
kcal
A smooth and refreshing Cold Corn and Salted Rice Malt Flan made with fresh sweet corn, unsweetened soy milk, and shio koji. This easy egg-free recipe has a delicate sweet-savory flavor and a soft, creamy texture that is perfect for warm days.
Ingredients
1 ear fresh corn
350 ml unsweetened soy milk
1 to 1½ teaspoons salted rice malt (shio koji)
5 g powdered gelatin
1½ tablespoons water
Olive oil, as needed for serving
Freshly ground black pepper, as needed
Directions
- Prepare the gelatin and corn
Pour the water into a small bowl and sprinkle the powdered gelatin evenly over the surface. Leave it to soften. Keep 2–3 layers of husk around the corn, wrap it securely in microwave-safe plastic wrap, and microwave at 600W for about 3–3½ minutes. Let it cool slightly, remove the kernels with a knife, and reserve about 3 tablespoons for garnish. Divide some of the remaining kernels between four serving cups. - Blend the corn base
Place the remaining corn and 100 ml of the soy milk in a blender or food processor. Blend until very smooth. Pass the mixture through a fine-mesh sieve into a small saucepan, then stir in the remaining soy milk. Straining helps create a softer, silkier flan. - Heat and season
Add 1 teaspoon of salted rice malt and warm the mixture slowly over low heat without allowing it to boil. When it reaches about 60–70°C, remove the saucepan from the heat. Taste and add up to another ½ teaspoon of salted rice malt if needed. Stir in the softened gelatin until completely dissolved. Set the saucepan over an ice bath and stir gently until the mixture cools and begins to thicken slightly. - Chill and serve
Pour the corn mixture evenly into the prepared cups. Refrigerate for at least 2 hours, or until softly set. Before serving, top with the reserved corn kernels, drizzle with a small amount of olive oil, and finish with freshly ground black pepper if desired.
Notes
- Sprinkle the gelatin over the water, rather than pouring water over the gelatin, to help it hydrate evenly and prevent lumps.
Salt levels in shio koji vary by brand, so begin with 1 teaspoon and add more only after tasting.
Do not boil the soy milk mixture. Gentle heat is enough to dissolve the gelatin.
Straining the blended corn gives the flan a smoother and more delicate texture.
Chill for at least 2 hours before serving.
Store covered in the refrigerator and enjoy within 1–2 days.
The recipe is egg-free, but standard gelatin is animal-derived, so it is not vegan.
Did you make this recipe?
Tag @jp.dishes on Instagram so we can see your delicious creation!